Our mission is to promote education and fellowship through the sharing of information and the promotion of the world's greatest hobby. - Model Railroading.
Railroad Item of the Month
Dick Tomlinson Layout. Pictures taken at the 2019 Convention
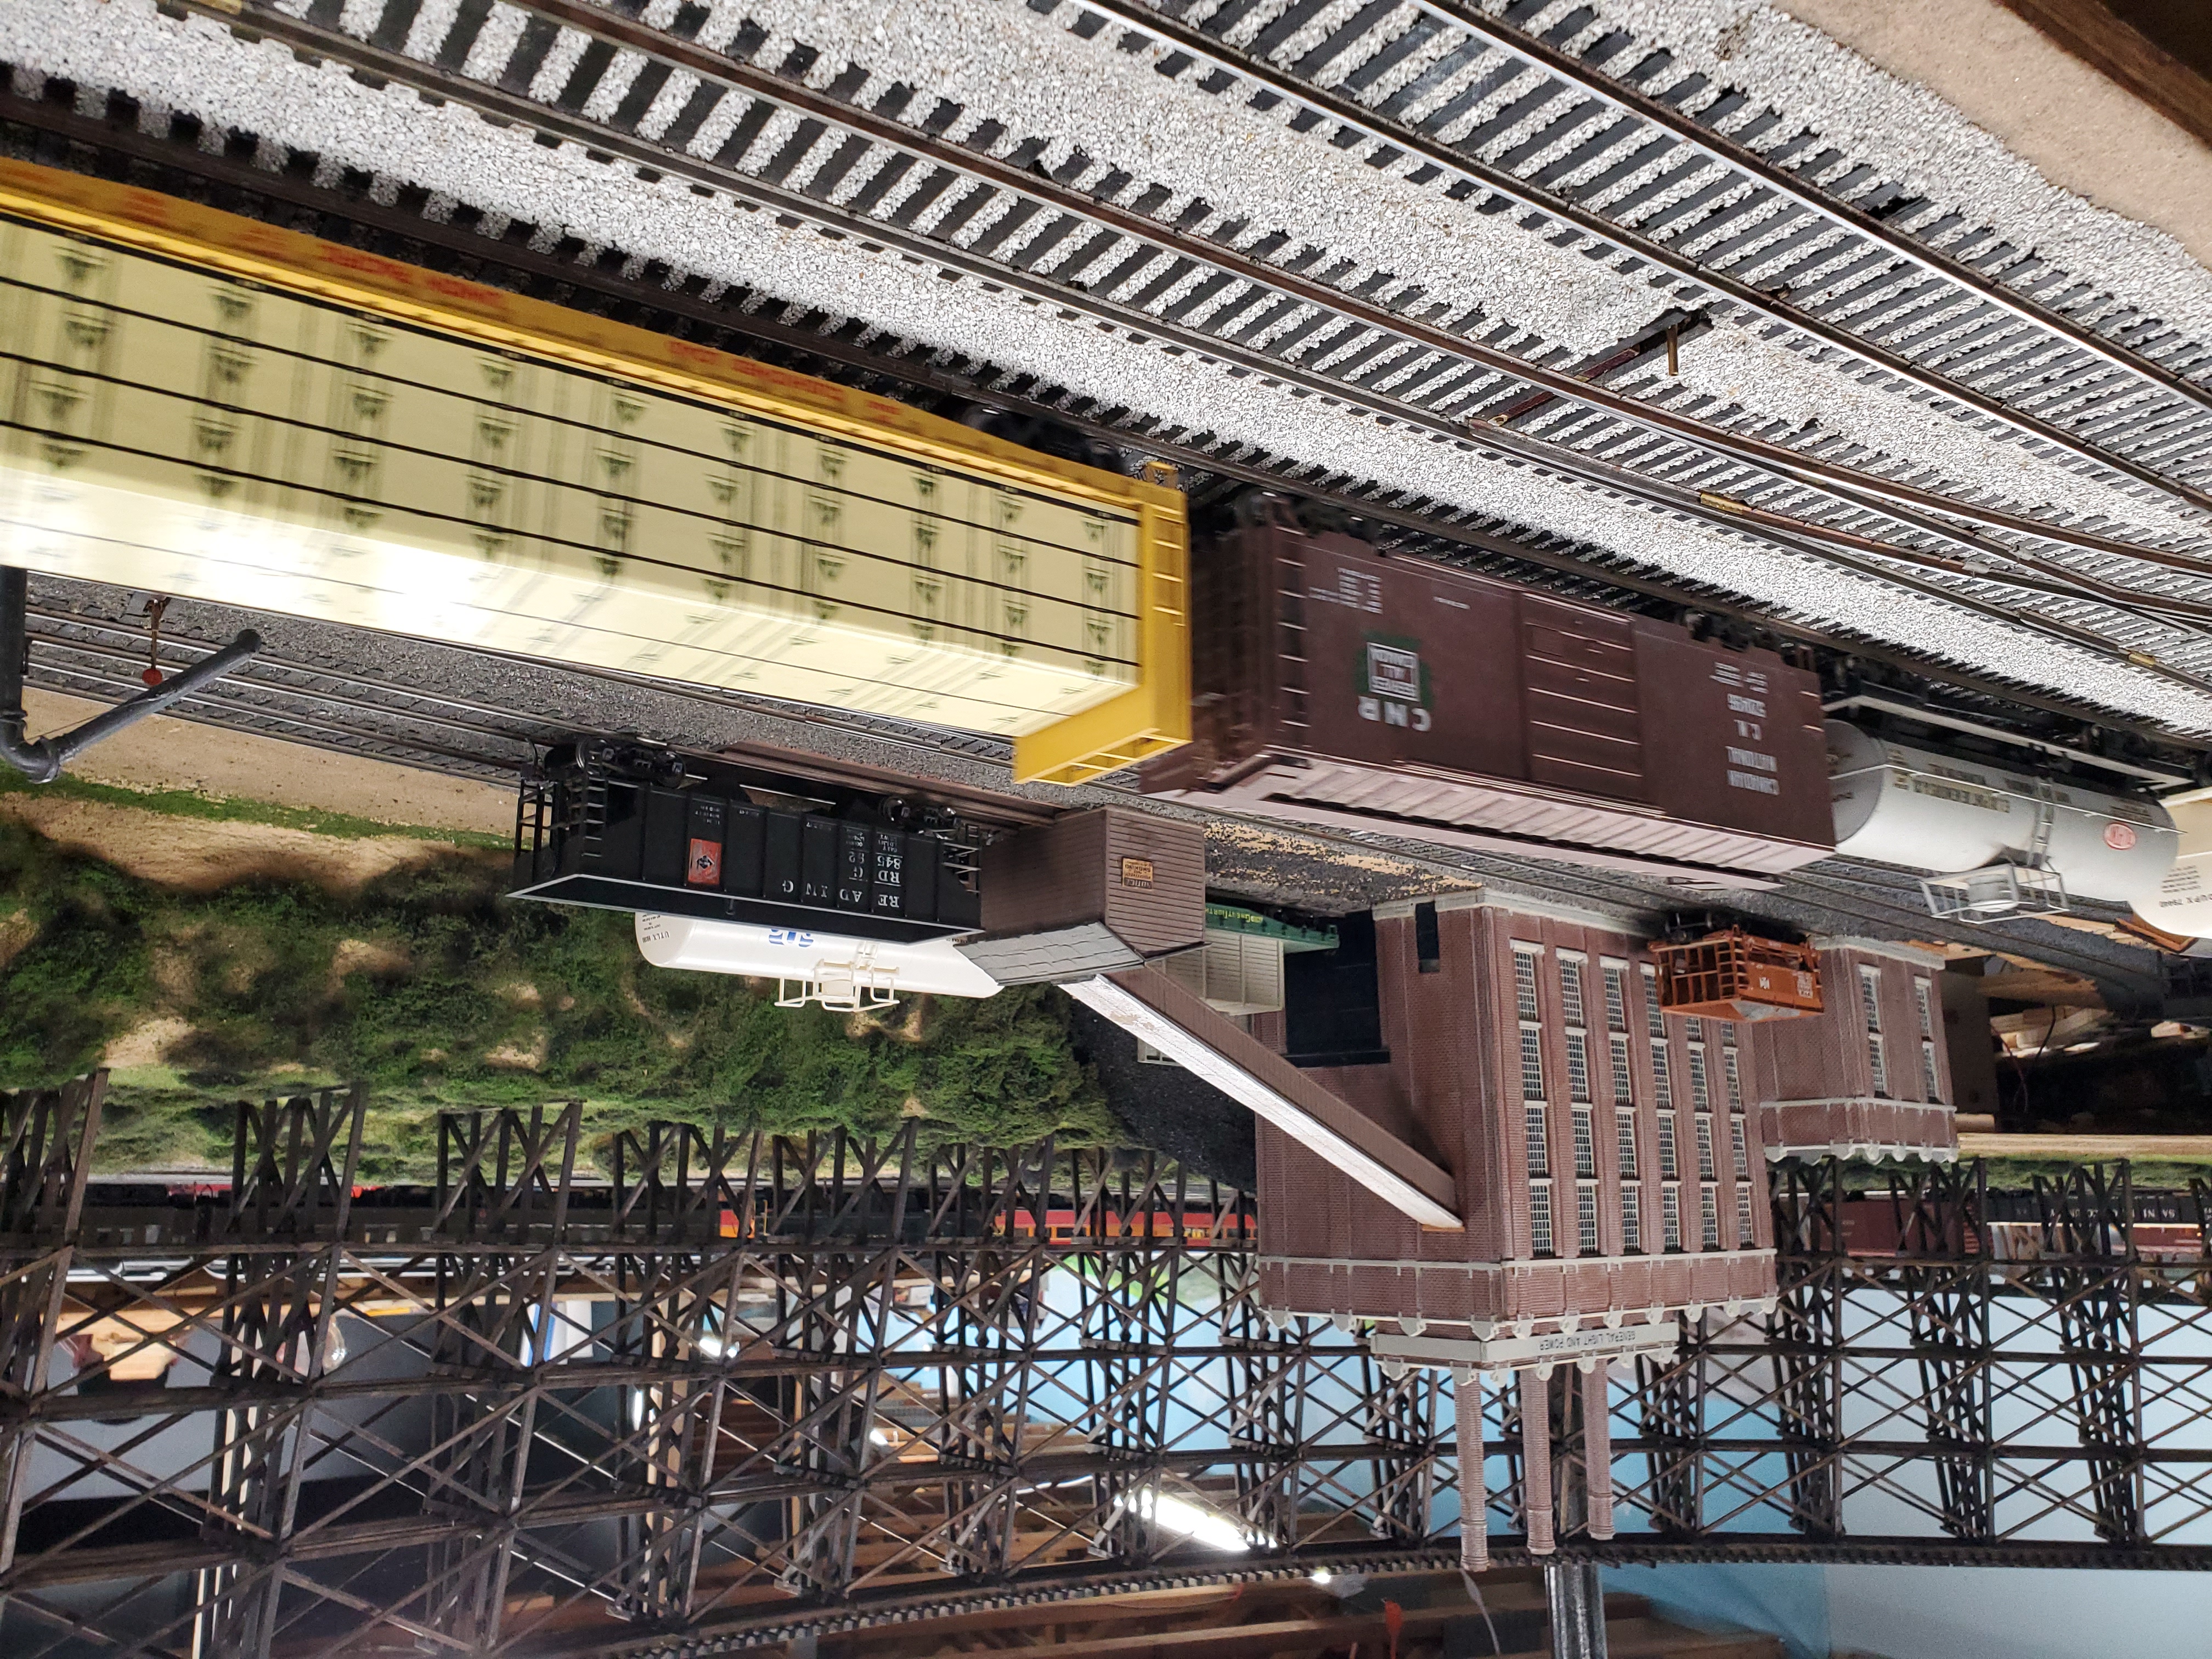
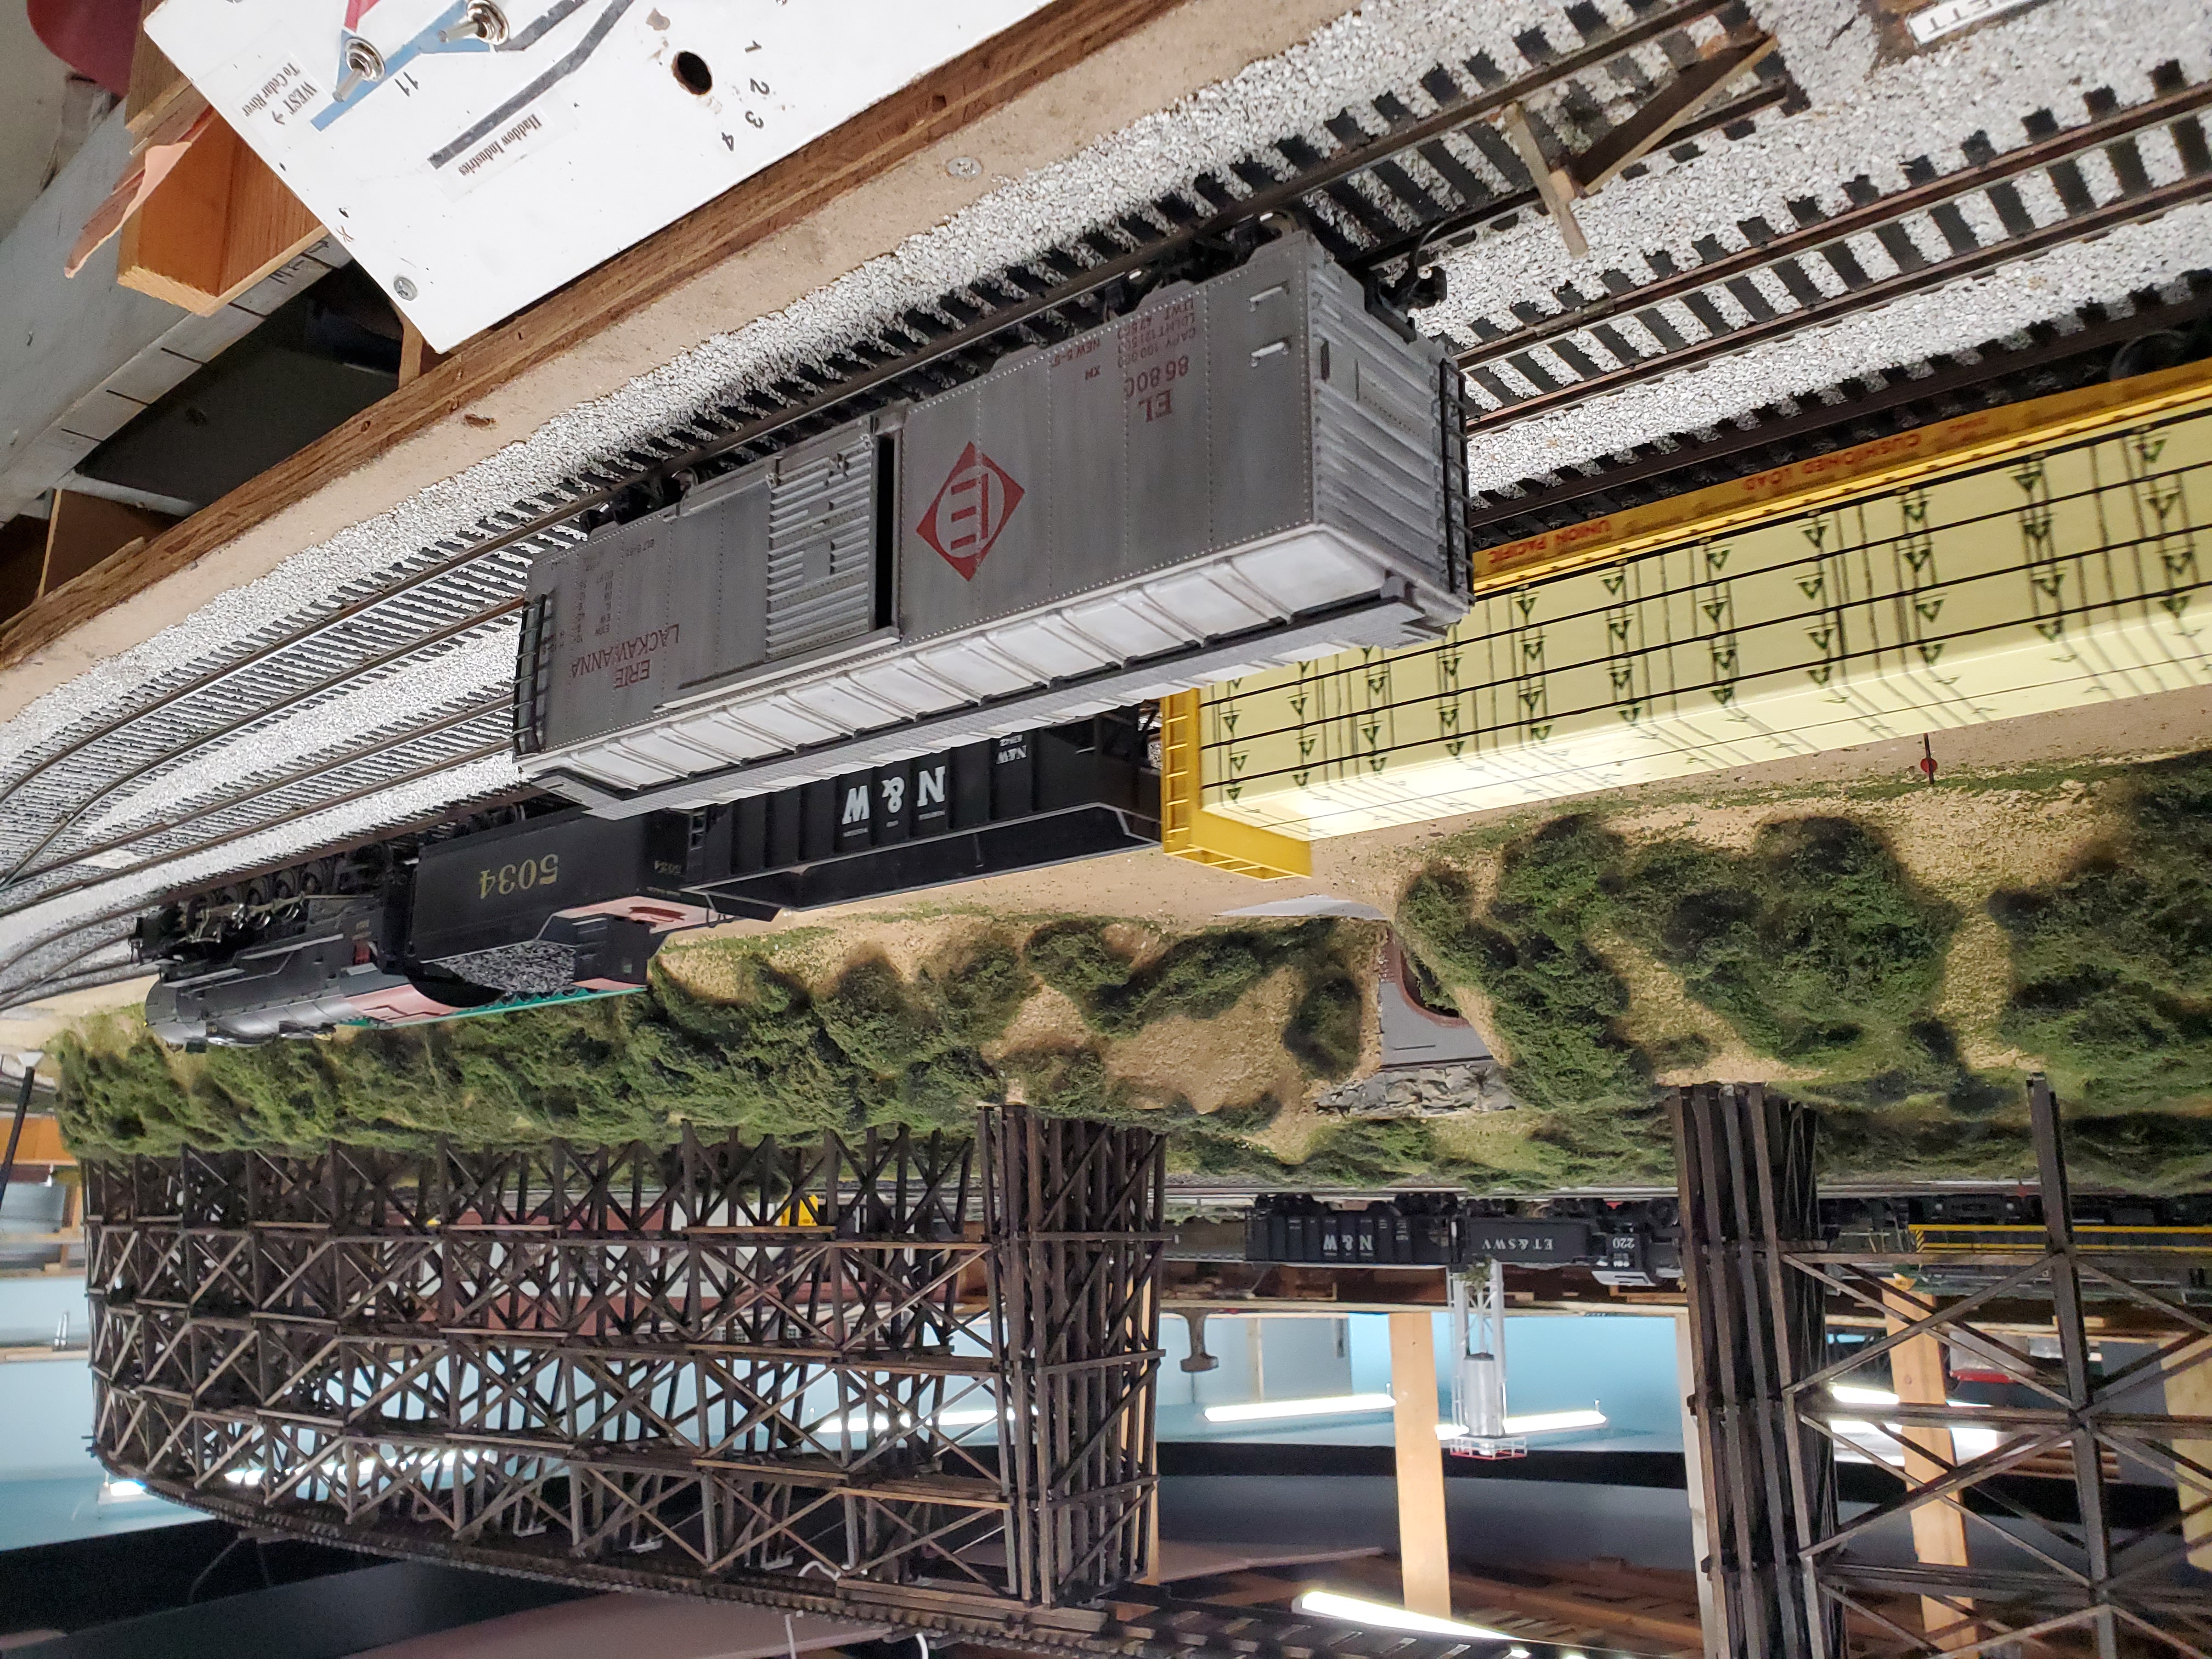
Paul Marsden
View from the Cab
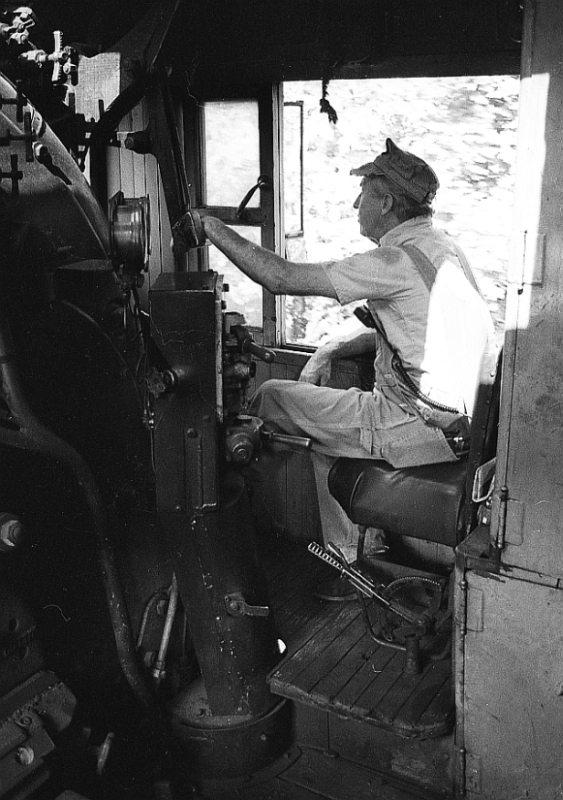
It's been a year since our last Black Swamp Division "live" meeting, and I feel like a modeling hermit. Yeah, we've got our Zoom meetings going well now, and I still have occasional operating sessions I can attend, but mostly it's just me and my basement! Yet on the upside, I've been more productive than usual and I have learned a lot over the year. I've taken on projects that stretched my knowledge and skills, making me reach out to other resources for help even when we couldn't be face to face. Web searches, Trainmasters TV videos, YouTube, texts and phone calls to friends, all provided what I needed to keep going even in isolation. I think most of you can relate to what I'm talking about here, and I'm simply saying that you are not alone, this will pass, and you've got a hobby that is sustainable until it does!
When I think about improving and growing in the hobby, I'm reminded of the NMRA Achievement Program. At this month's Zoom meeting, one of our features will be a presentation from Skip Luyk about this program. Skip is from Division 4 in Grand Rapids, MI and serves as the North Central Region Achievement Program Director. He is also a Master Model Railroader, so he has first hand experience navigating the program. There are a number of topical Certificates of Achievement that involve various aspects of model railroading, but they all have something in common: they provide a path to make you a better modeler. Some folks pursue the various certificates and ultimately the MMR status by systematically working on the various requirements. Another approach, which appeals to me, is simply to build your railroad as planned and complete the achievement certificates as you go. You will find that the requirements naturally fit the work you are already doing, so you can simply document your work within the program requirements. All in all, this is a great program that contributes to excellence for anyone who undertakes it. I think you will enjoy Skip's presentation while gaining some new directions and motivations for your work.
As usual, you will find the web link to this month's Zoom meeting elsewhere in this Train Order. The site will open by 6:30 for fellowship with the meeting starting at 7 PM. I look forward to seeing you there!
Dave McMullian,
Superintendent
From the Editors Desk
Thank you for everyone who gave me content for this train order. We have another full edition, including 2 articles from Dave giving details from his Air Brush clinics he recently gave.
I always have a dilemma when I am putting together a Train Order. How big should I make an image? Do I make the images massive, taking up the full screen, so you can see the full details, thus taking a lot of scrolling to read the full Train Order, or make them smaller, and make the train order easier to read. What do you think? - another posibility is to make it so you can click on a image, and then I can open it in another window, to show off all the details.
Paul Marsden, Editor
Clinic Corner
It looks like we will continue these at least until our fall meeting season starts. We are hopeful we can meet live by then. As always, please reach out to me at mstull@marshallstull.com if you are having issues with joining the Zoom meetings or just want to test the waters. We are happy to set up a one-on-one to get you comfortable with using Zoom or get through a technical issue.
Next Zoom Meeting

Below is the invitation with links to join the Febuary 26th meeting. Note: the "doors" (or in this case windows) open at 6:30PM so the customary getting acquainting time can occur. We will also be providing pointers on video, cameras, sound and miscellaneous issues. At 7:00PM we will begin the official meeting.
Topic: Black Swamp (Div 1) Zoom Meeting
Time: Feb 26, 2020 06:30 PM Eastern Time (US and Canada)
Zoom Meeting Link:
https://zoom.us/j/94767288374?pwd=cWM5K1lxUlhkdTA5M21hR3liYjNOQT09
Meeting ID: 967 2879 1423
Passcode: 200942
One tap mobile
+16465588656,,96728791423#,,,,*200942# US (New York)
+13017158592,,96728791423#,,,,*200942# US (Washington DC)
Dial by your location
+1 646 558 8656 US (New York)
+1 301 715 8592 US (Washington DC)
+1 312 626 6799 US (Chicago)
+1 669 900 9128 US (San Jose)
+1 253 215 8782 US (Tacoma)
+1 346 248 7799 US (Houston)
SHOW AND TELL
We encourage everyone to bring something you are working on! With zoom, you can show us right on your layout. You can also share photos/video from your computer/device or just hold up the item in front of the webcam.
Febuary Clinic(s)

We will also have a presentation/discussion on 3D printing for Model Railroading. Yours truly will review my experience using 3D print technology both good and bad. We will also looks at the types of 3D printers for those in the market.
FUTURE CLINICS - We need feedback!!!
March will feature an overview and Q&A on building card-stock/paper models. David Miecznikowski of Clever Models will lead the presentation. Again, please submit questions/requests in advance so Dave can tailor his presentation for us.April We are still looking for our April subject. If you have an idea for a clinic you would like to present, please get in touch with me via e-mail at mstull@marshallstull.com.
Clinic Survey
Remember, we cannot bring you the subjects you want if you do not tell us! Please click this link and make your wishes come true! FYI, you can vote for multiple subjects!
We cannot bring you the subjects you want if you do not tell us what you need! For the last few months, we have had a survey on-line for people to vote for and propose future clinic subjects. Our upcoming clinics are a result of that feedback! Please click this link and make your needs known! Remember, you can vote for multiple subjects!
Marshall Stull,
Assistant Superintendent
Coal Bunker
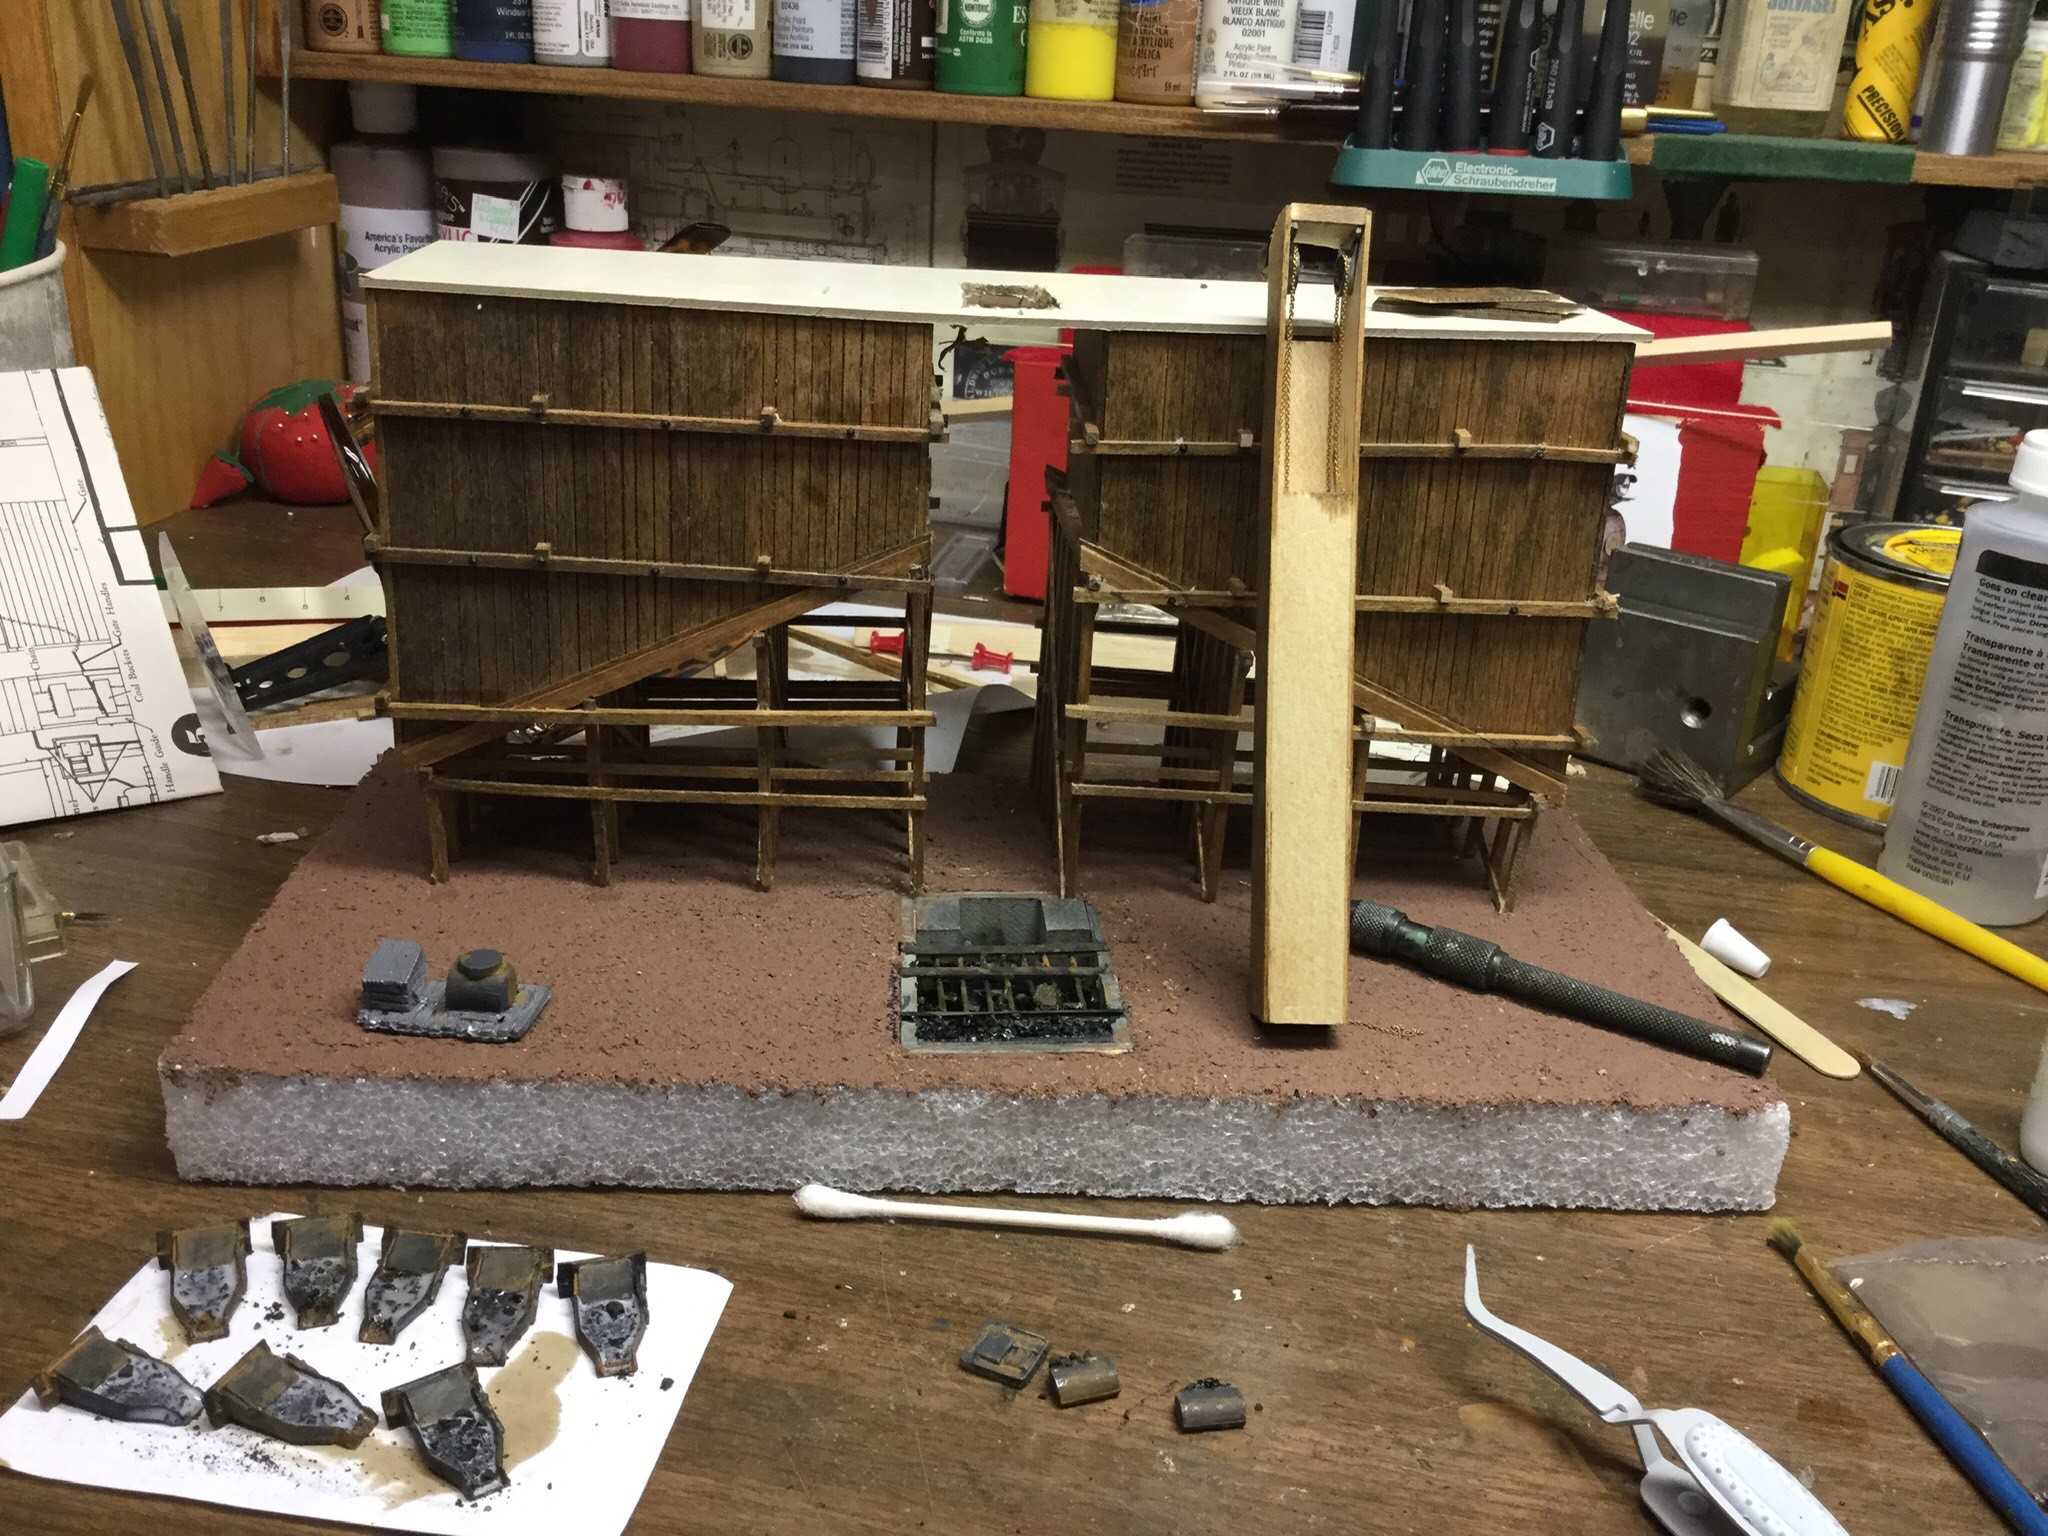
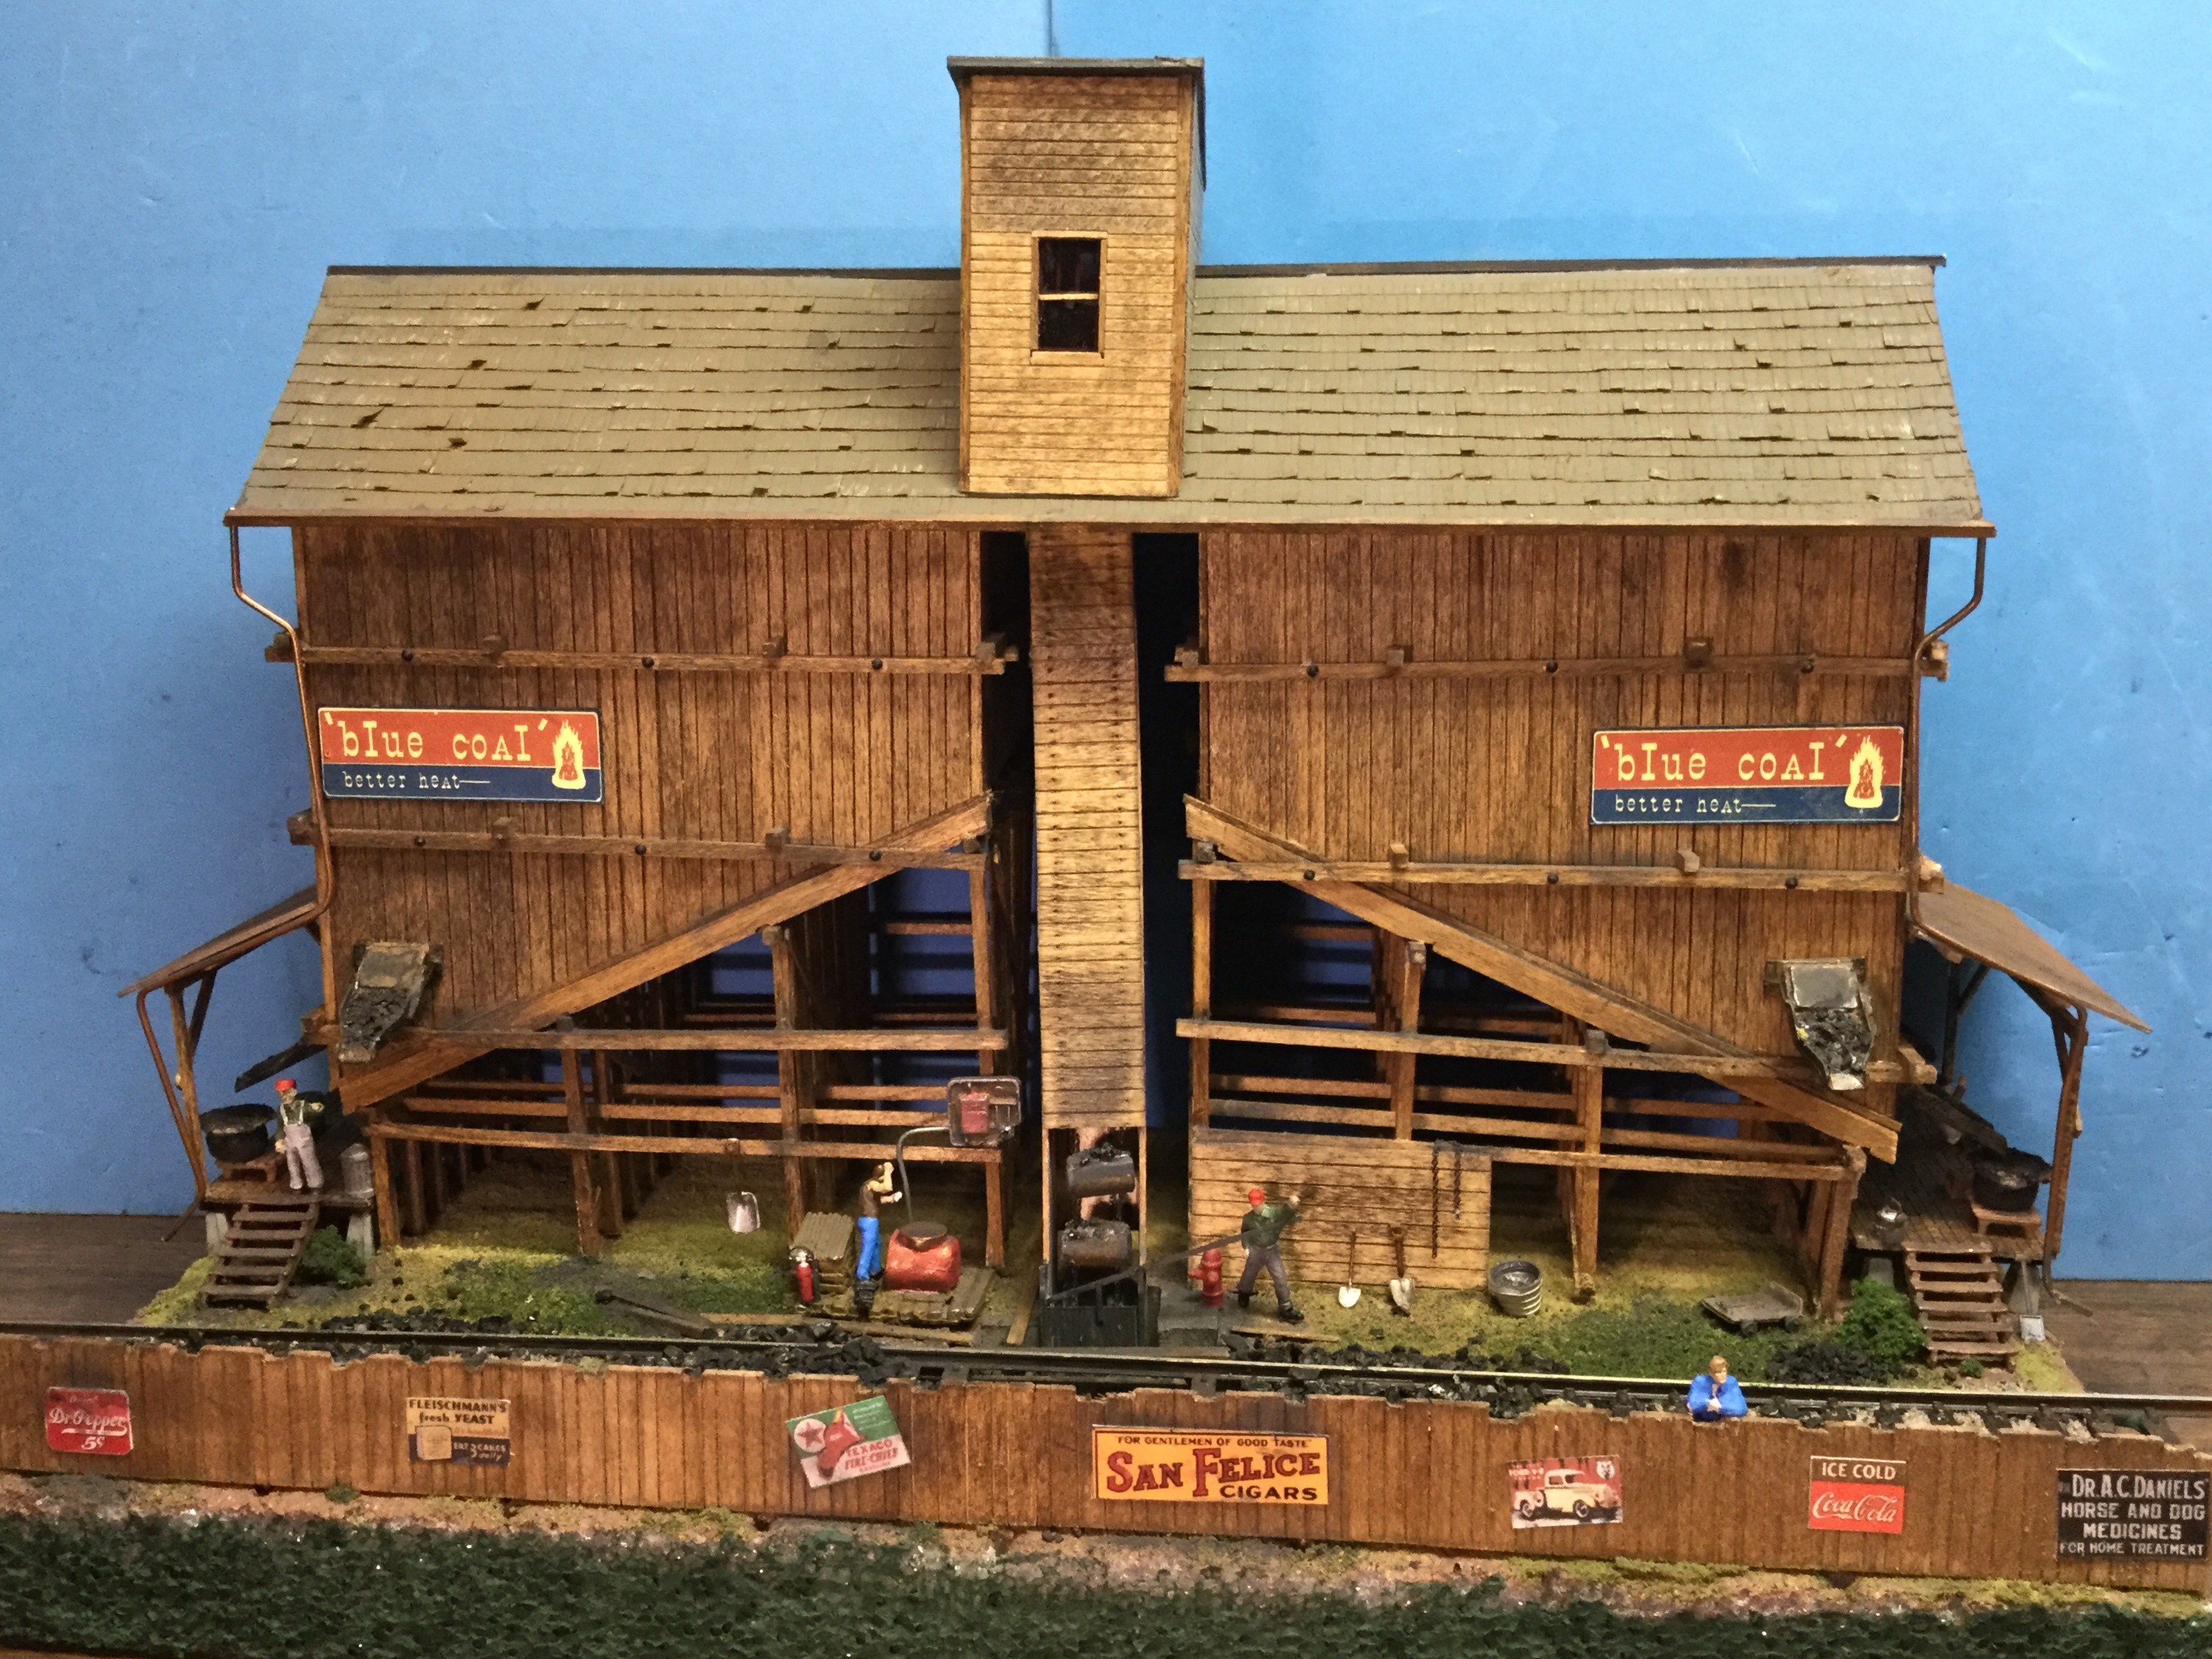
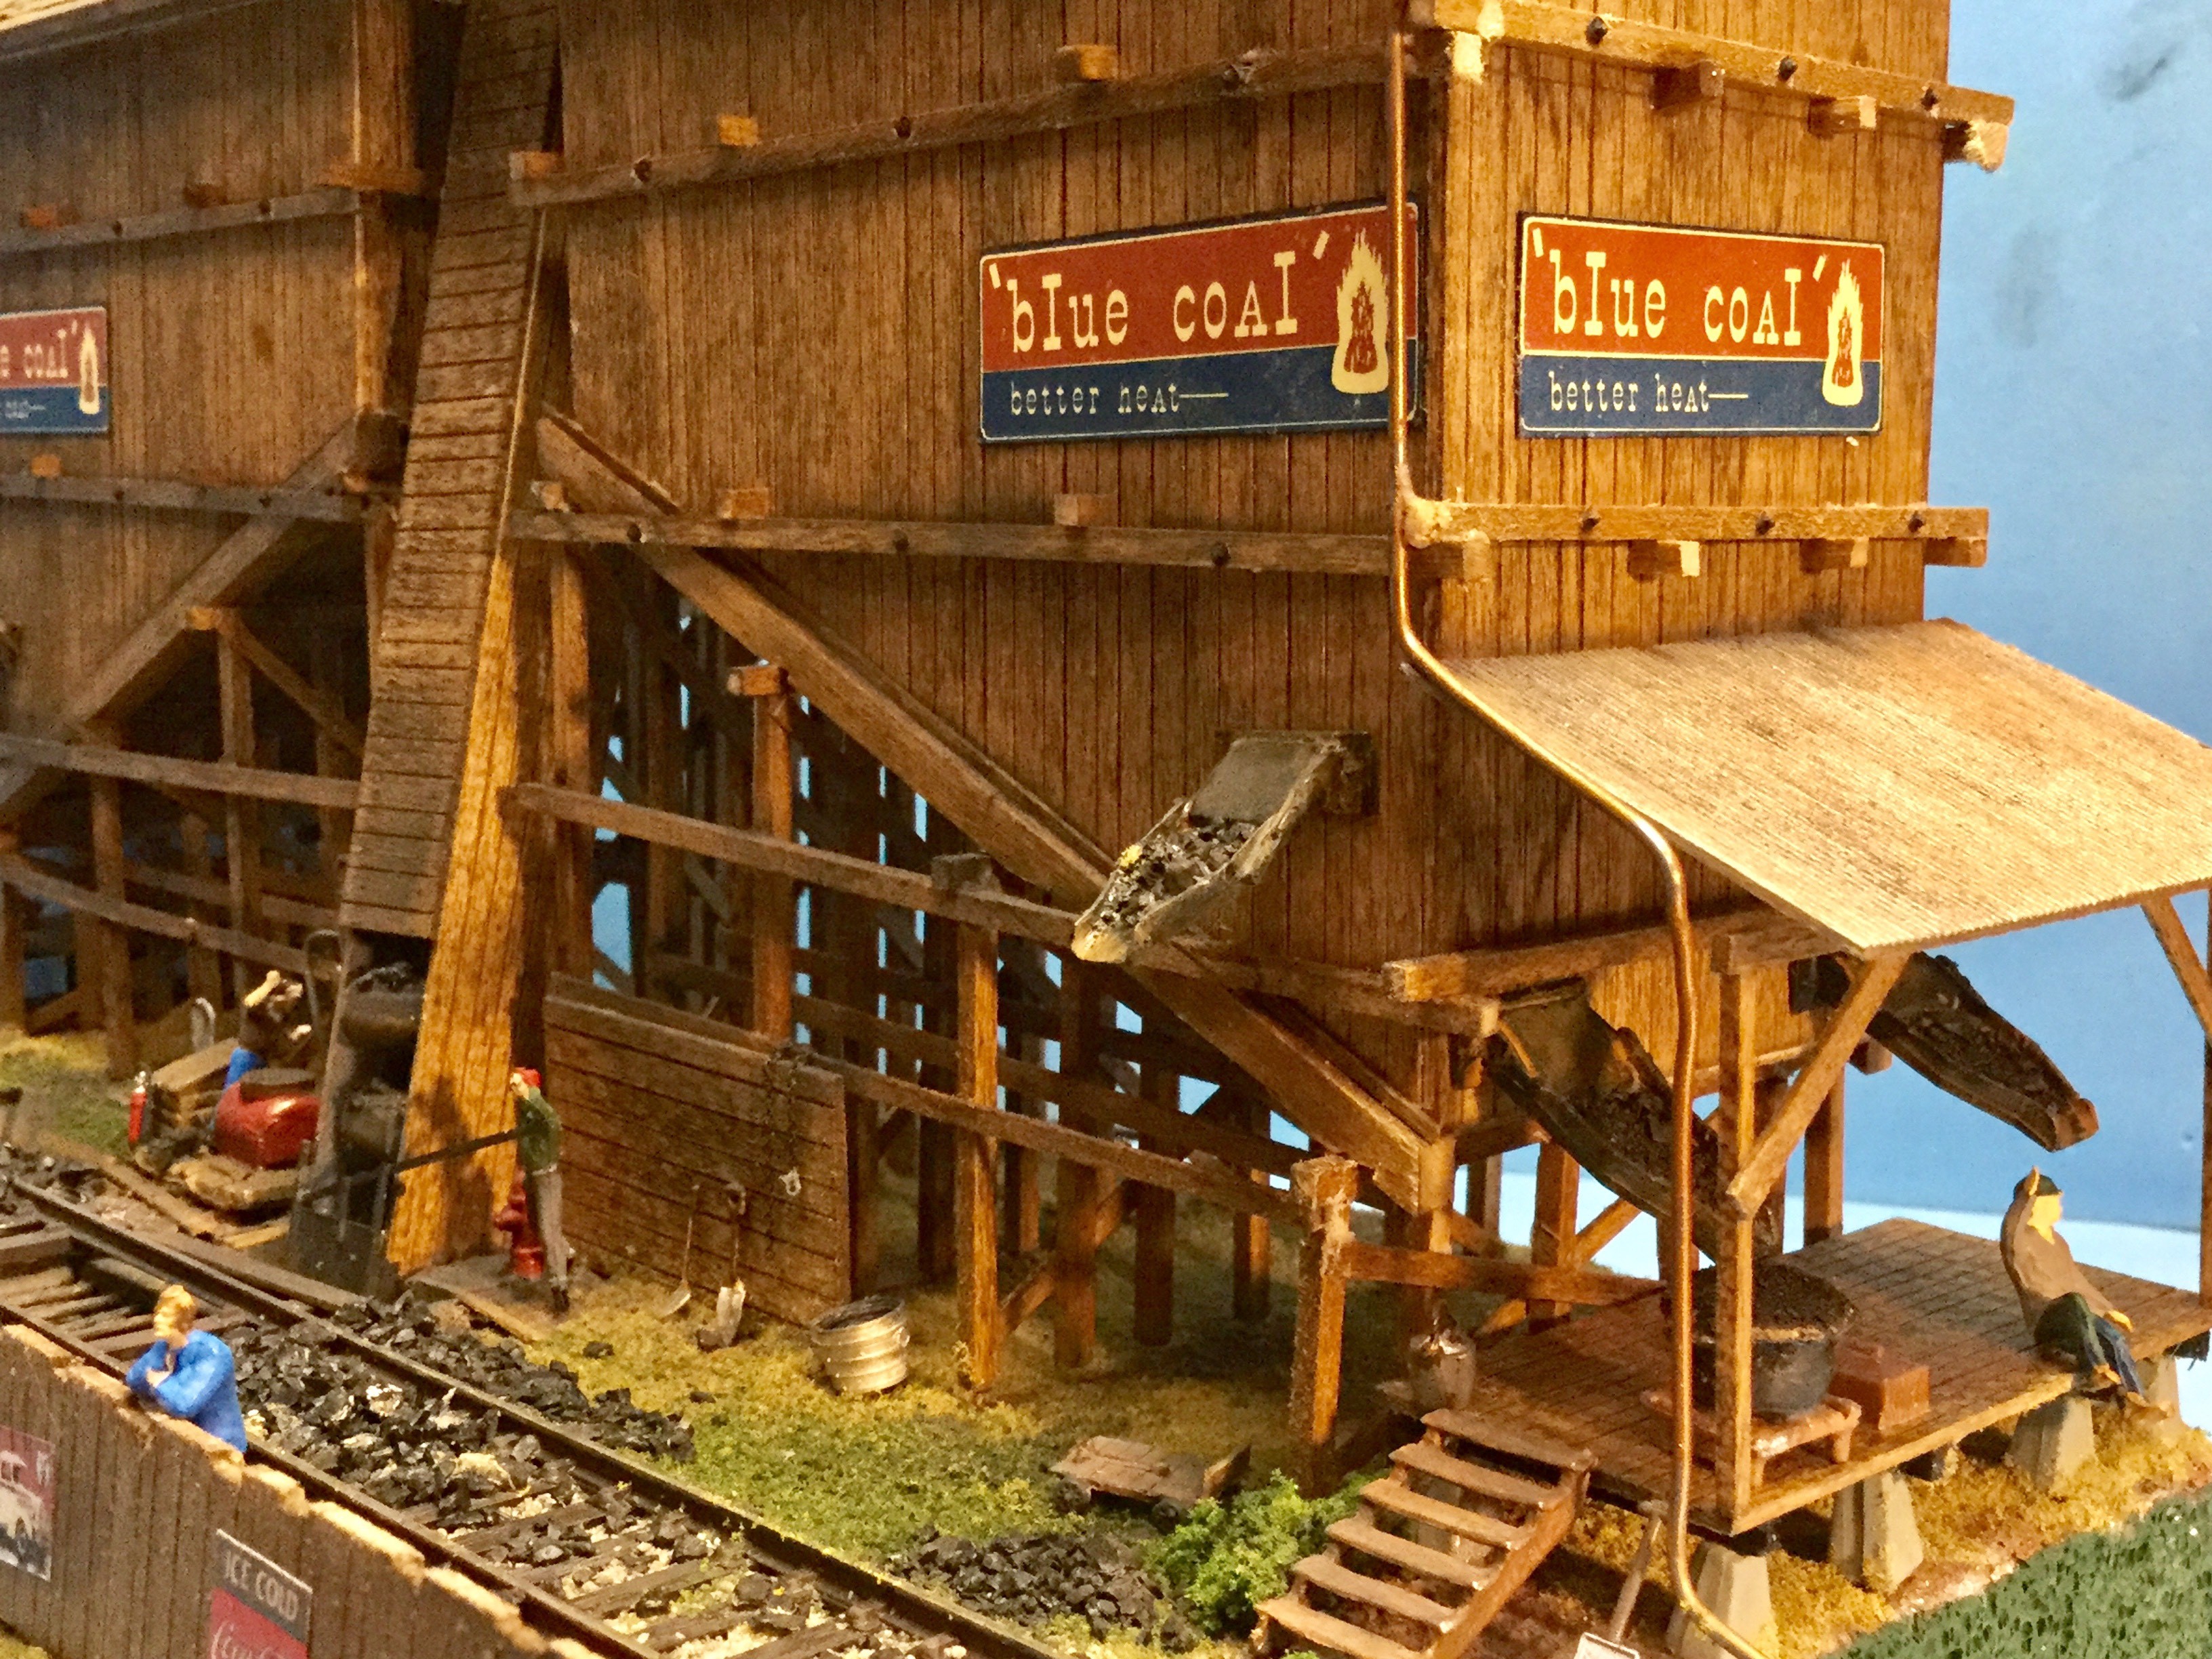
My home layout is as finished as it will ever get. I do not have any room for more structures. I have made a few buildings for other people and for our Modular club , NorthWestern Modular Railroaders. This summer I made the big switch from solvent based paint to acrylic paint, and made a few model airplanes to practice using my new airbrush.
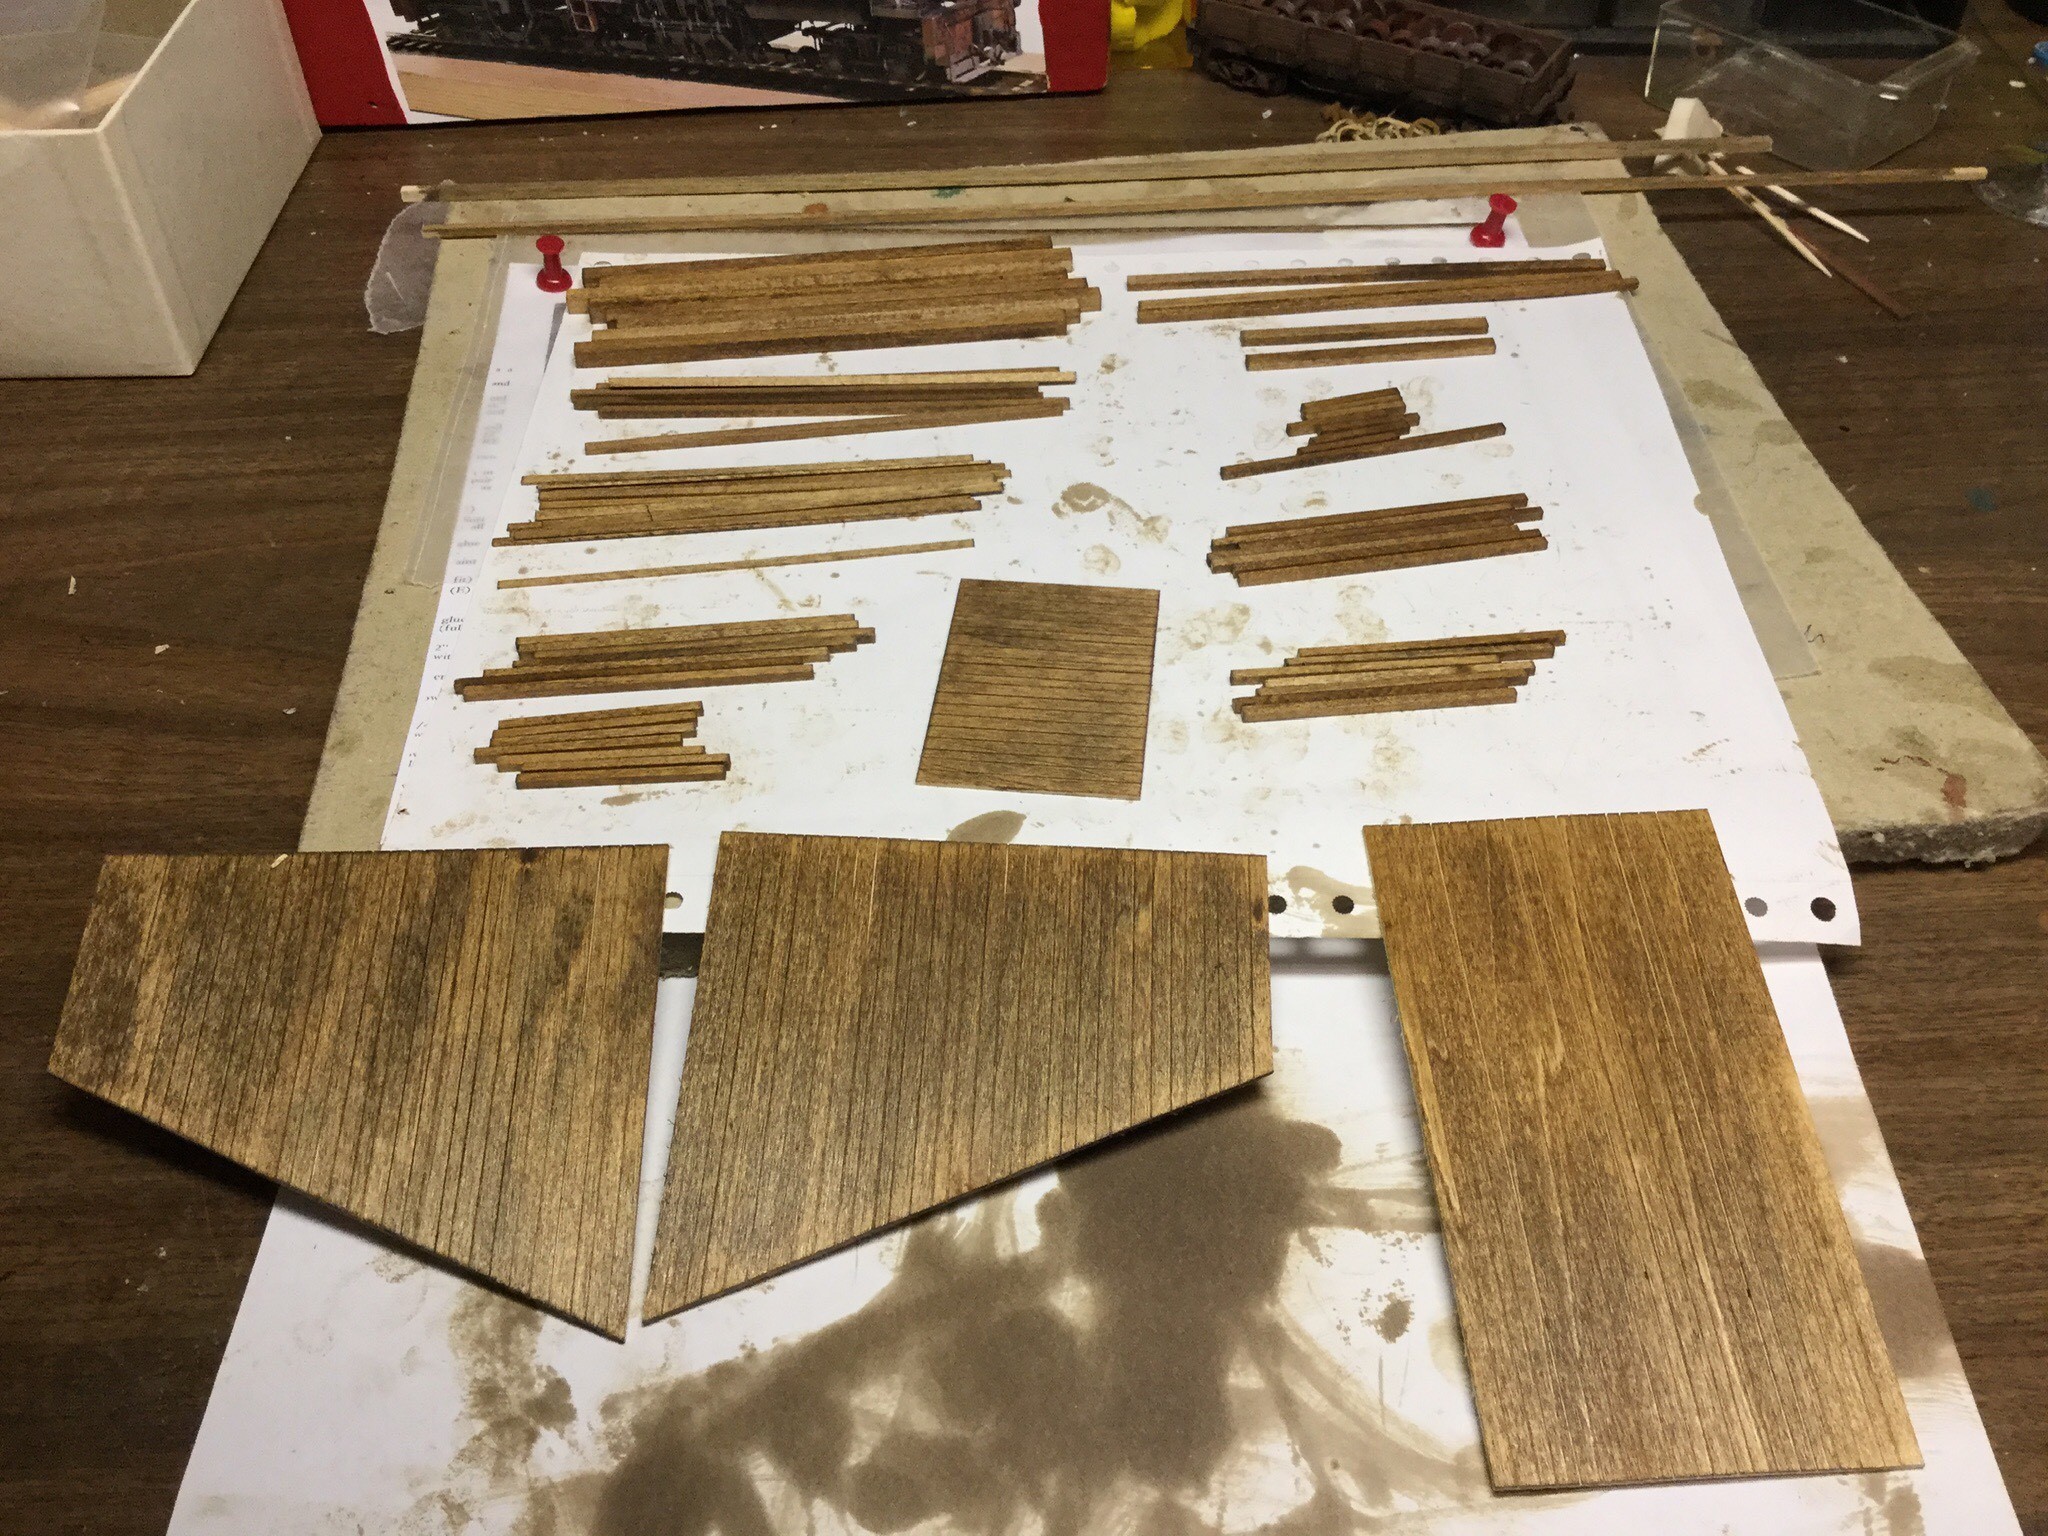
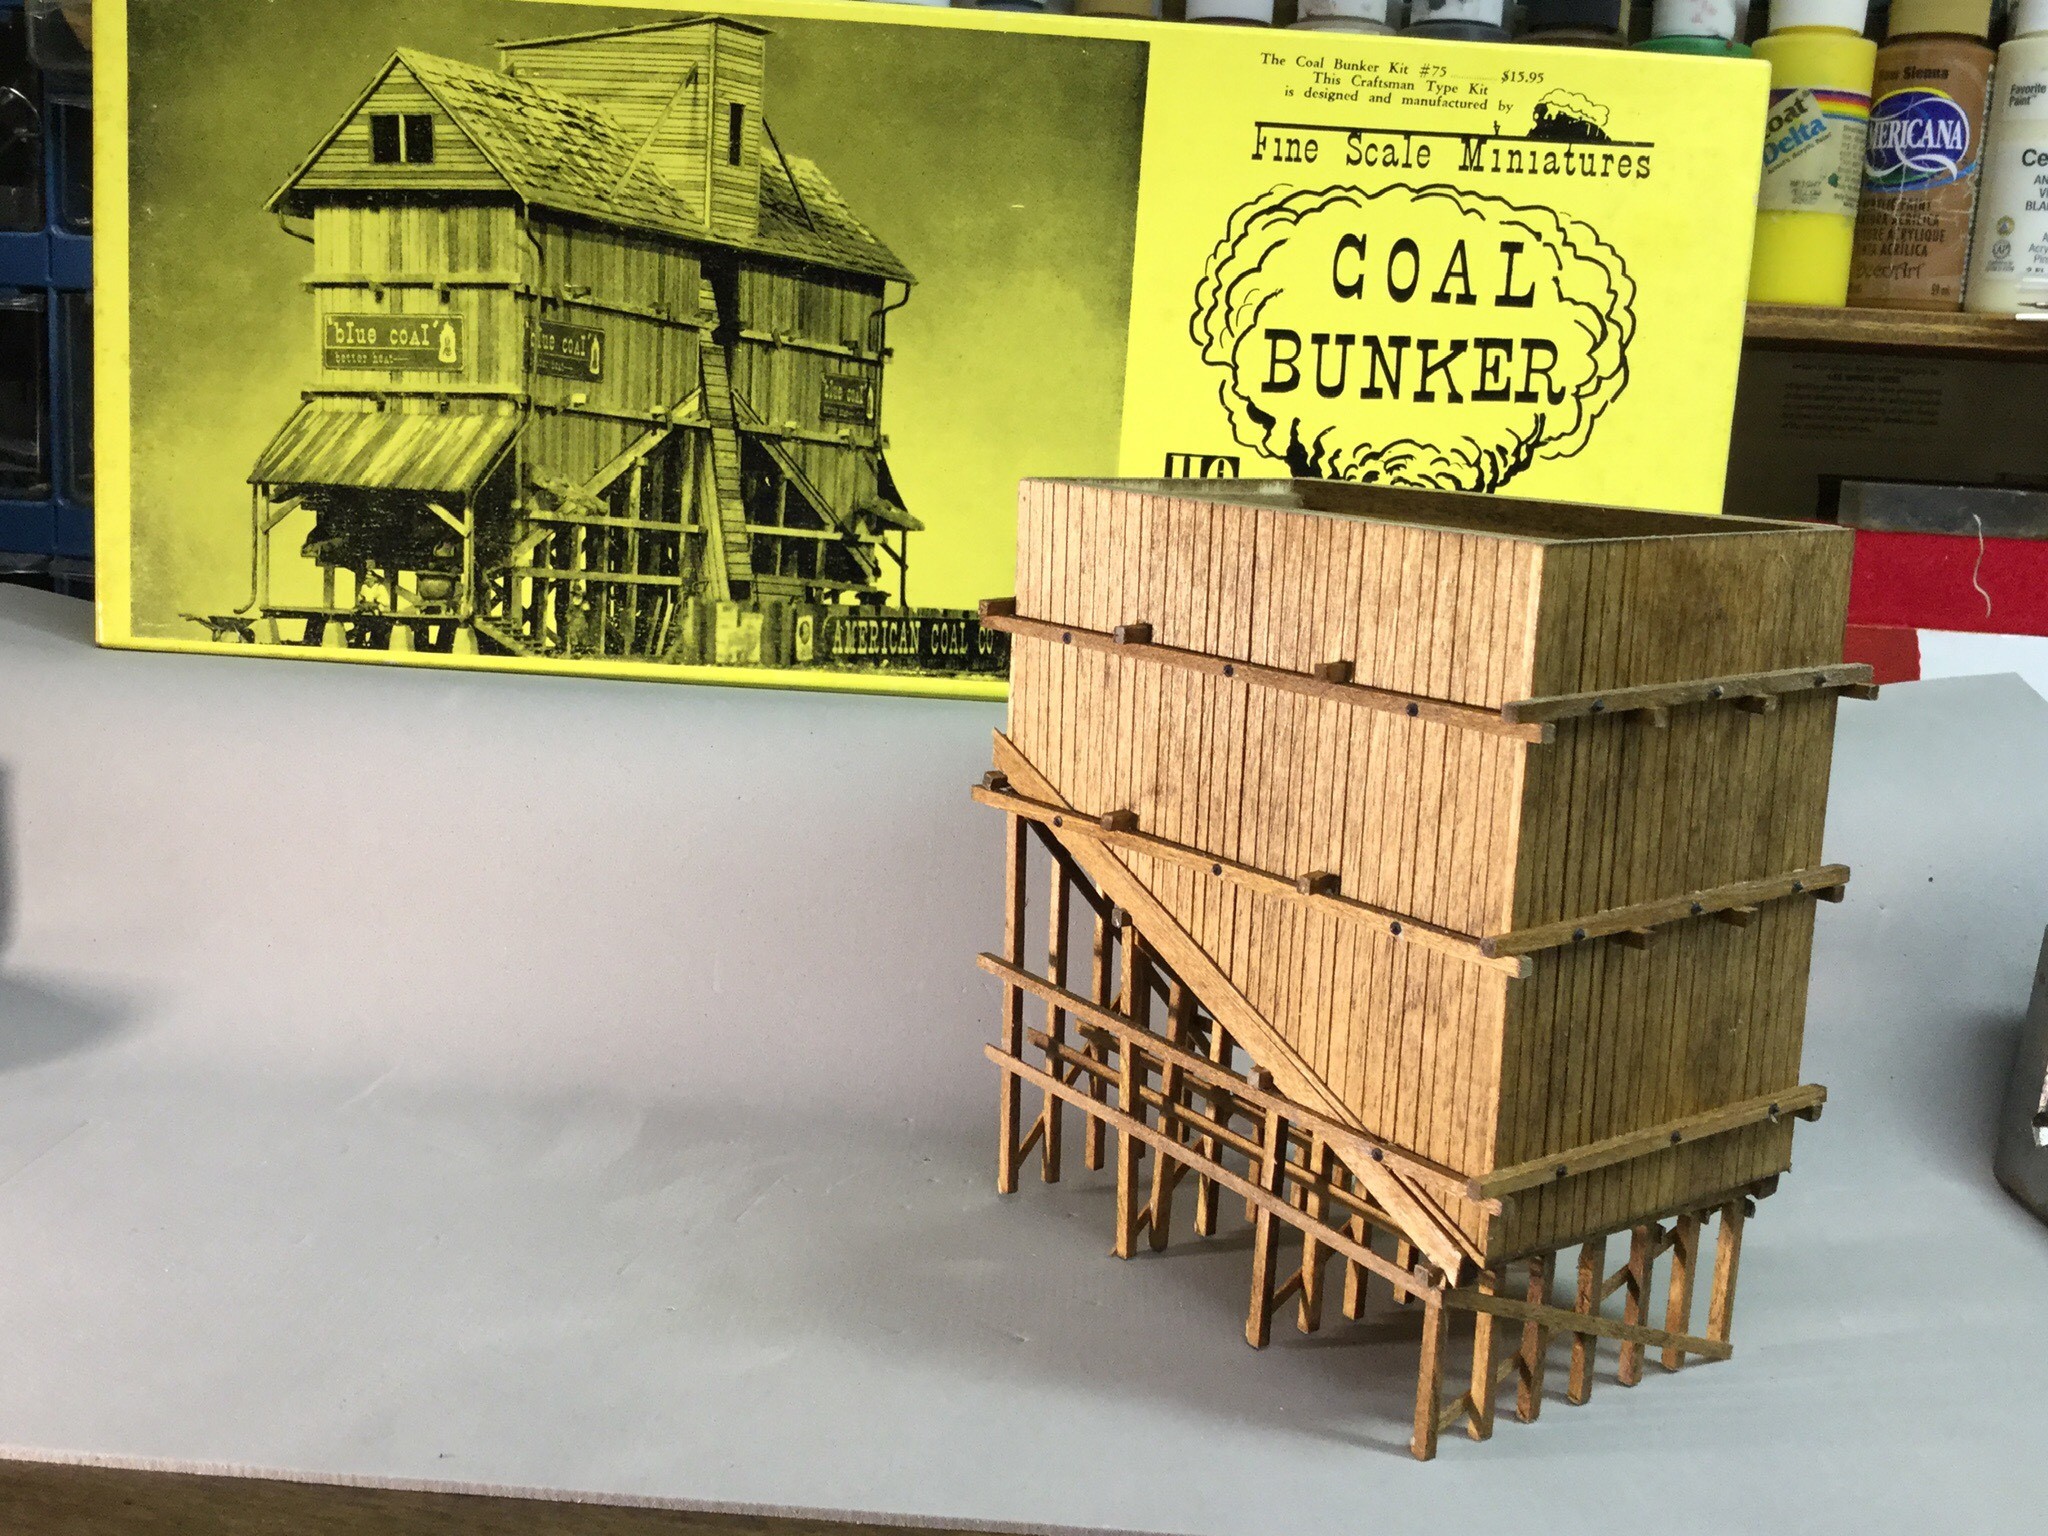
To begin the year I decided to build something to do with railroading. I pulled a kit from the shelf. Fine Scale Miniatures
Kit # 75 Coal Bunker. The first picture is of the components for one of the bunkers. I used Minwax brand Early American stain on all the wood parts before assembling.
This project kept me busy for 16 days. Now that it is finished,I don't know what to do with it. I can't fit it into my layout, and I do not have The necessary ambition to build a new module for the club. But I did get a lot of enjoyment from building it.
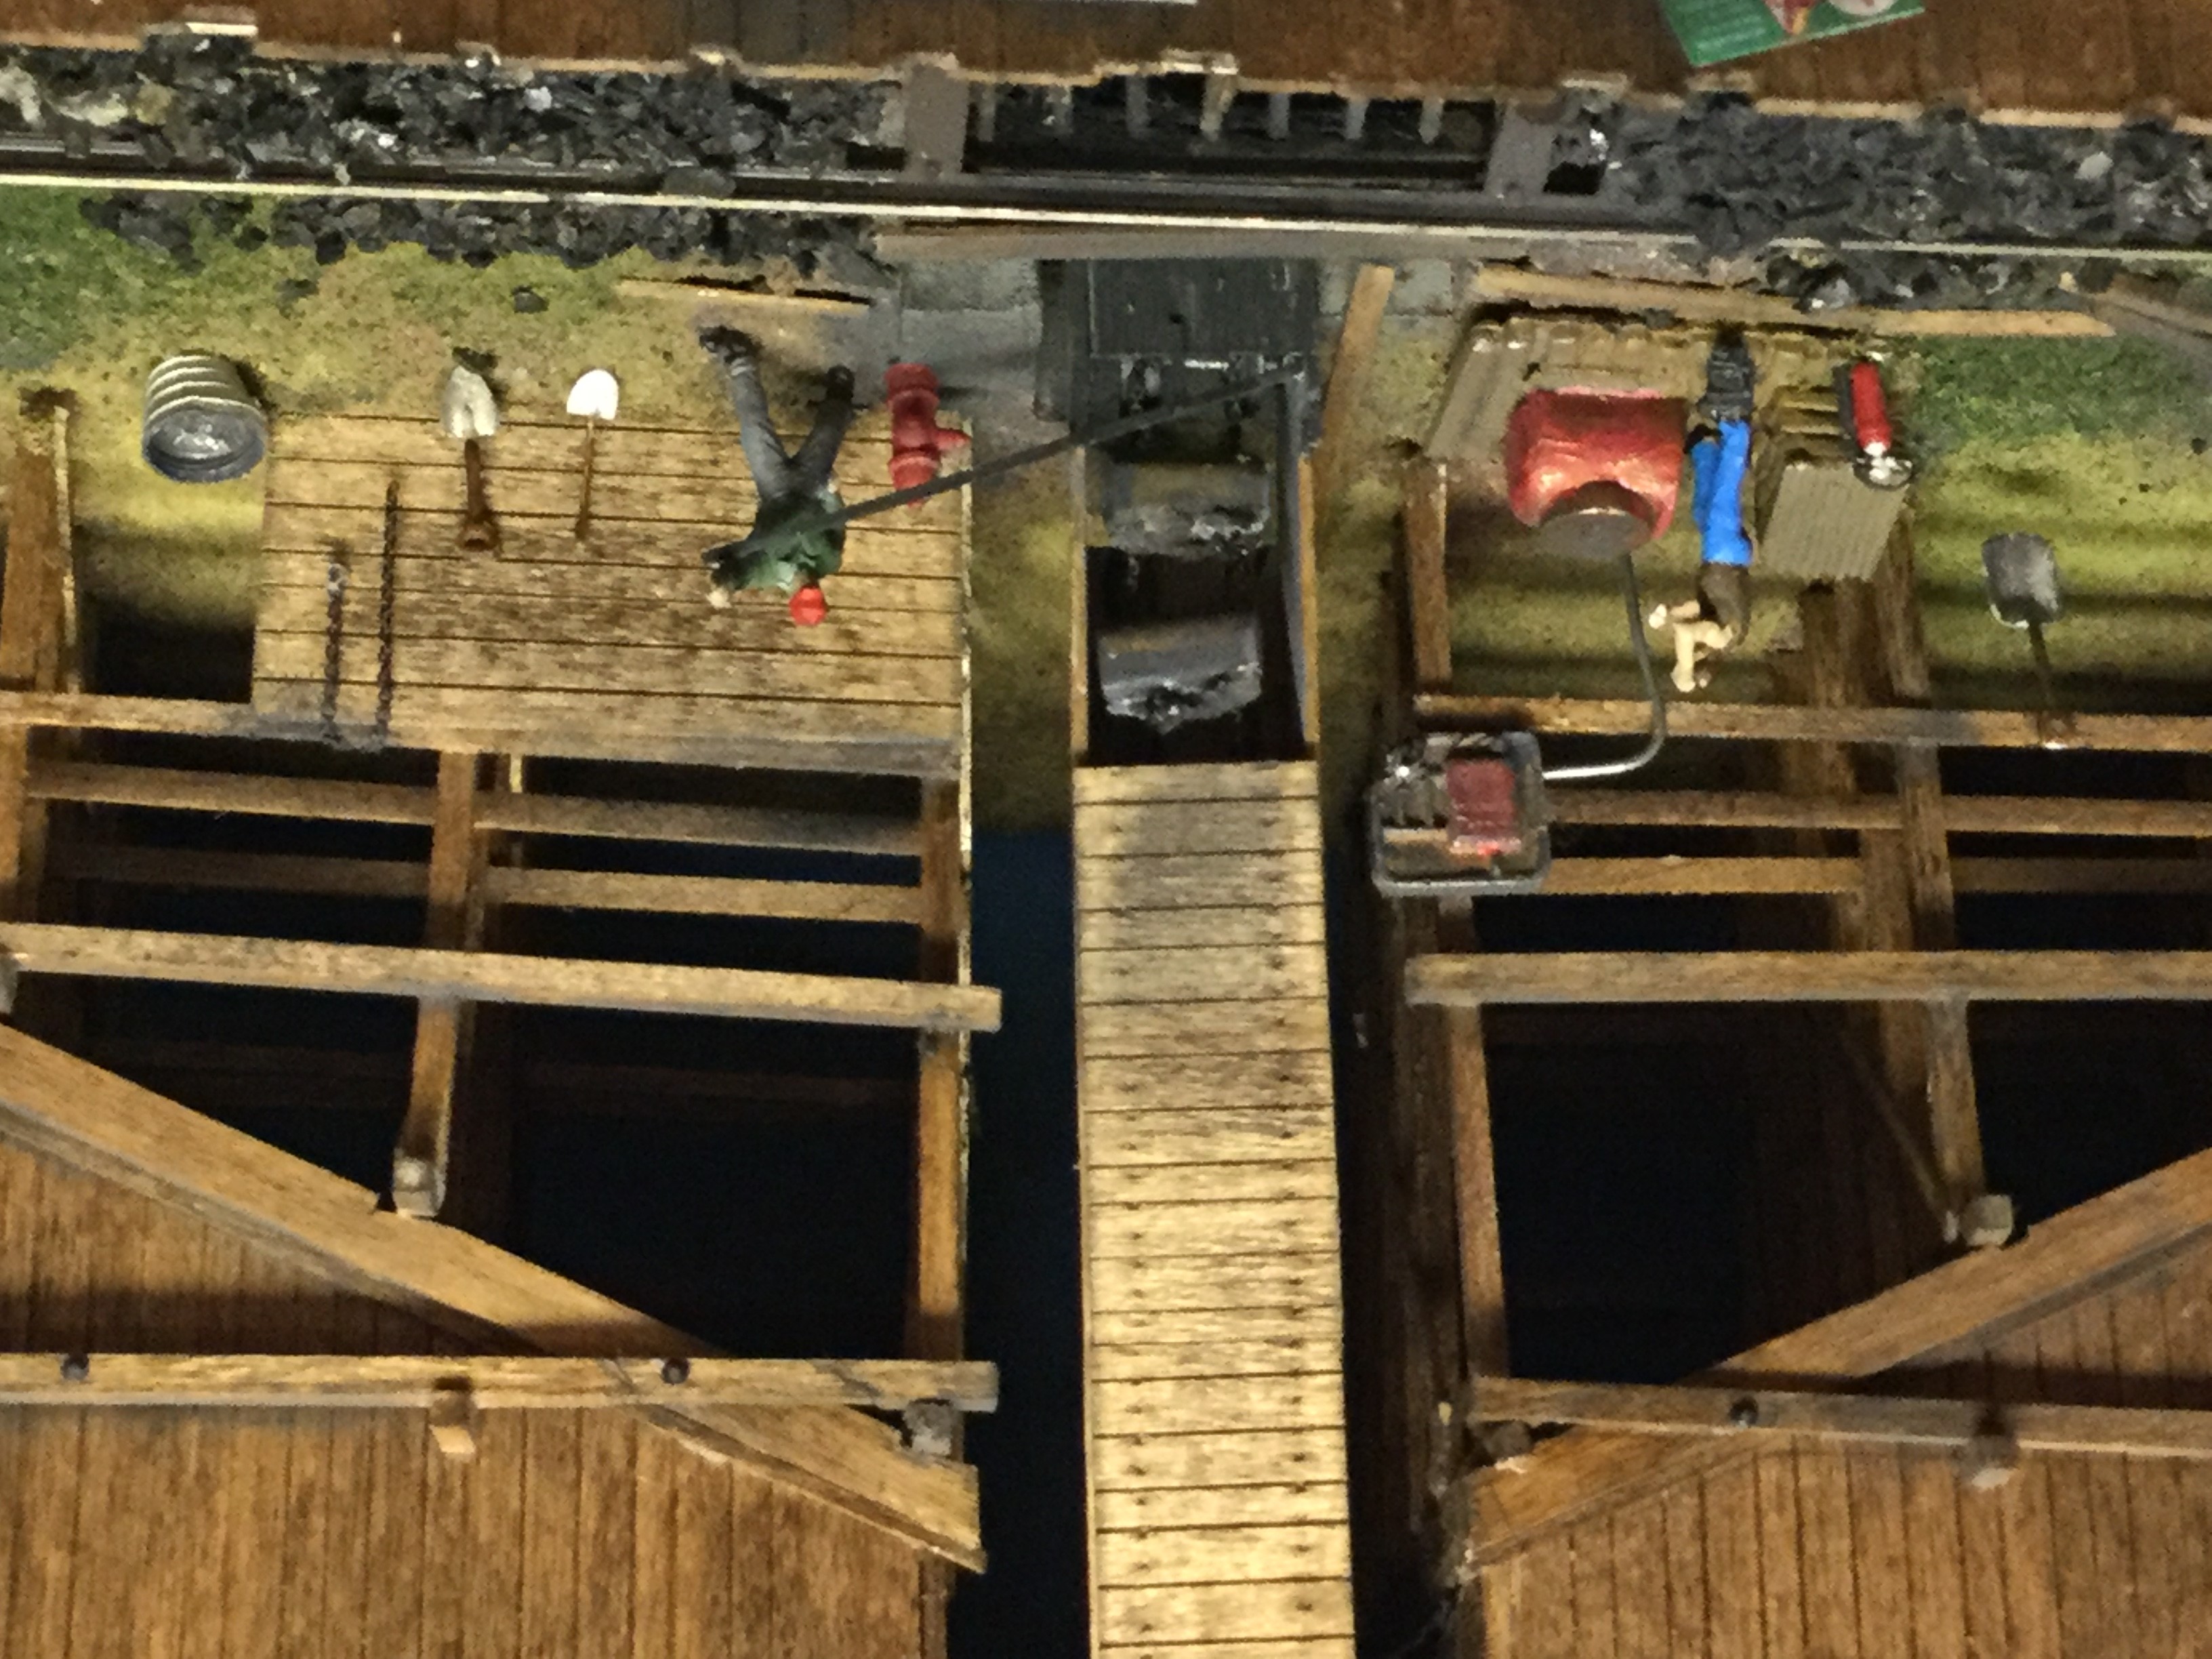
by Jim Treadaway STINKYCREEK R.R.
The AI Railroad Grows
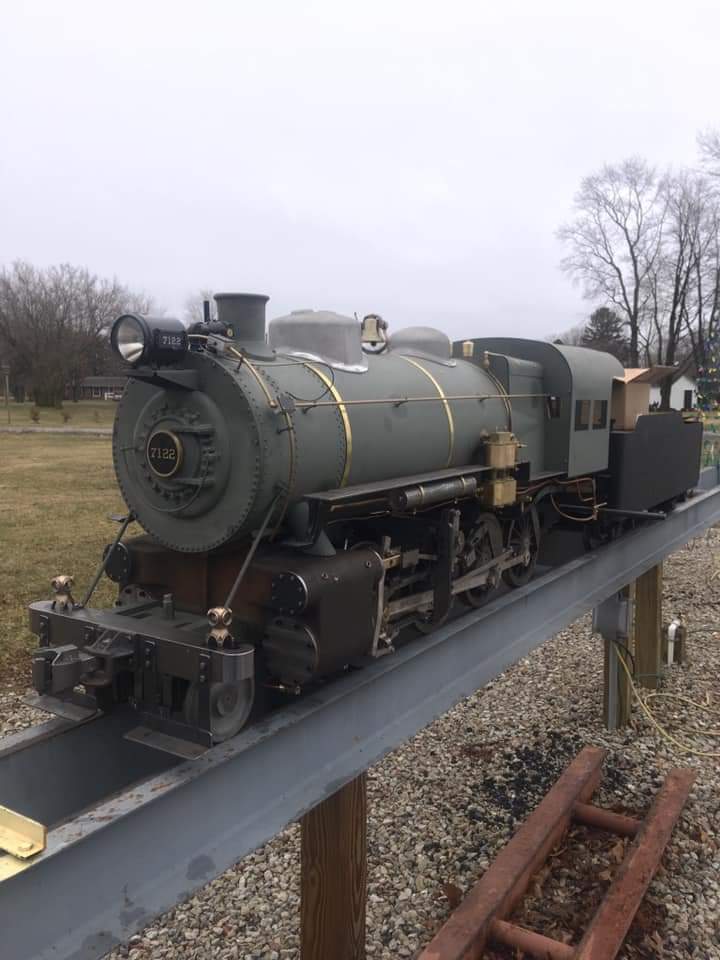
The AI Railroad took possession of former Pennsy H10, a Consolidation type 2-8-0 locomotive #7122 on January 2nd 2021.
This loco is about 90% complete and will have some bench time to add a steam line to the functioning dynamo, electrical for the head, marker and cab lights as well as for the tender markers and backup light. The dynamo can not power all these even as LEDs so a battery pack and regulator circuit will also be used.
When the loco is fully debugged and all appliances added it will then be made ready for paint.
We have decided to honor it's heritage and paint her as delivered to the Pennsylvania Railroad.
Just like the full size version, this loco on first steam up Saturday revealed some minor leaks that will need to be addressed in some fittings, caps etc.
This loco features 3 water feed systems, a ,large steam powered injector, a small steam powered injector and a dual steam powered compound pump.
It is coal fired and has dual arches in the Firebox.
The first and last wheel sets are flanged with the middle 2 blind.
The loco itself weighs 850 lbs with out water.
The tender is 95% complete, it will have a 3rd water feed line added, marker lights and a rear backup light added and rear ladder. It will also house the battery/ regulator equipment. When ready it to will be made ready for paint.
by Jim Wolsiffer
3rd Summer Project
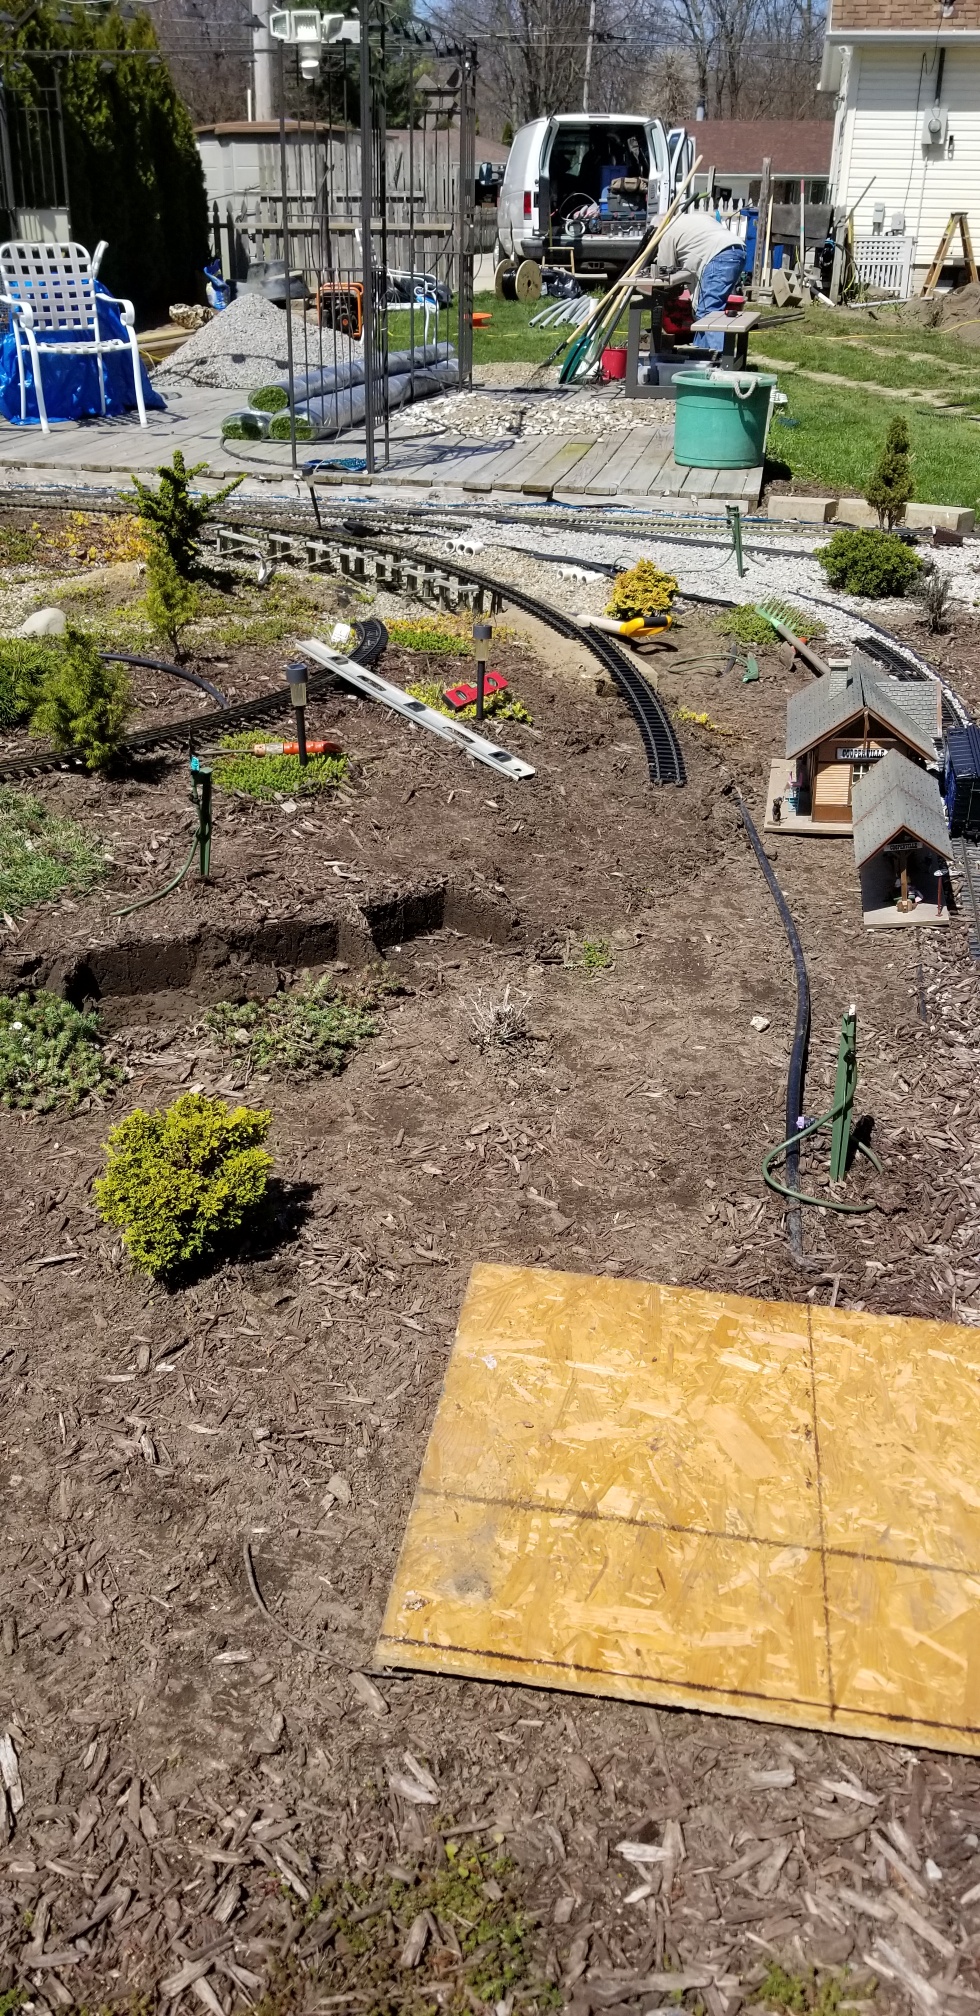
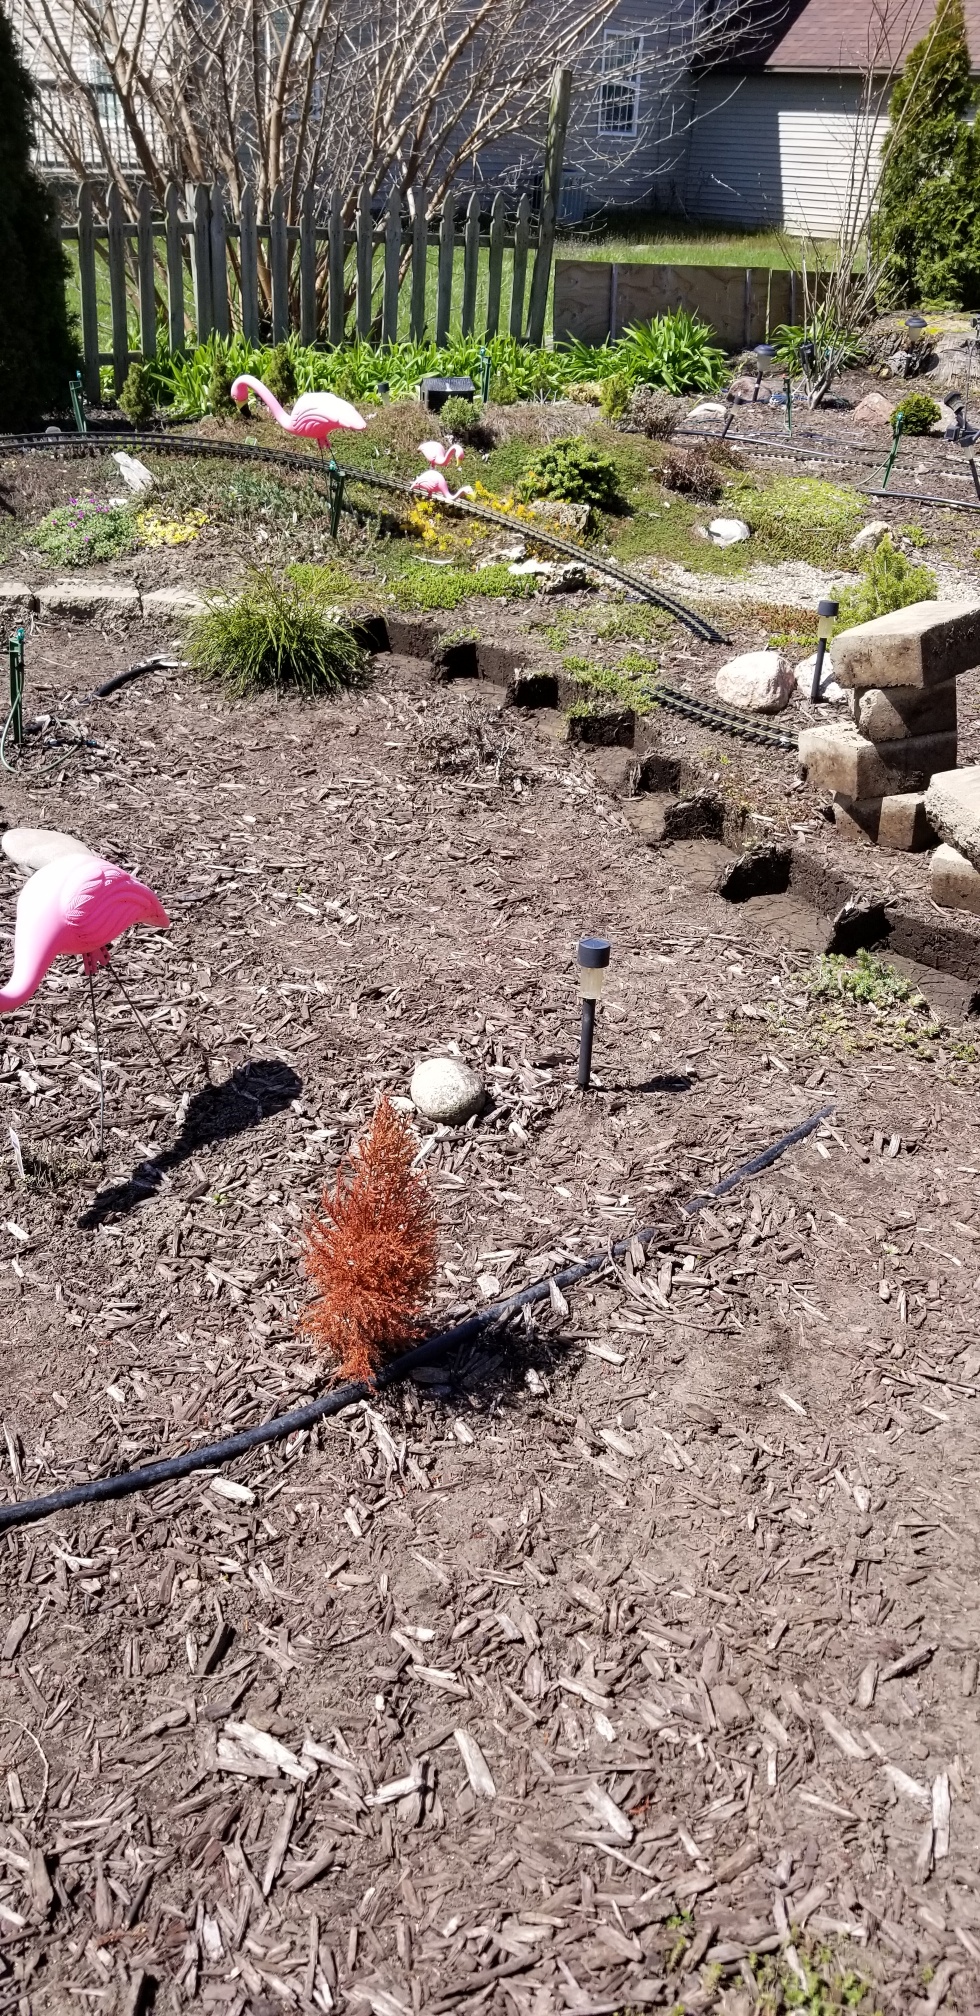
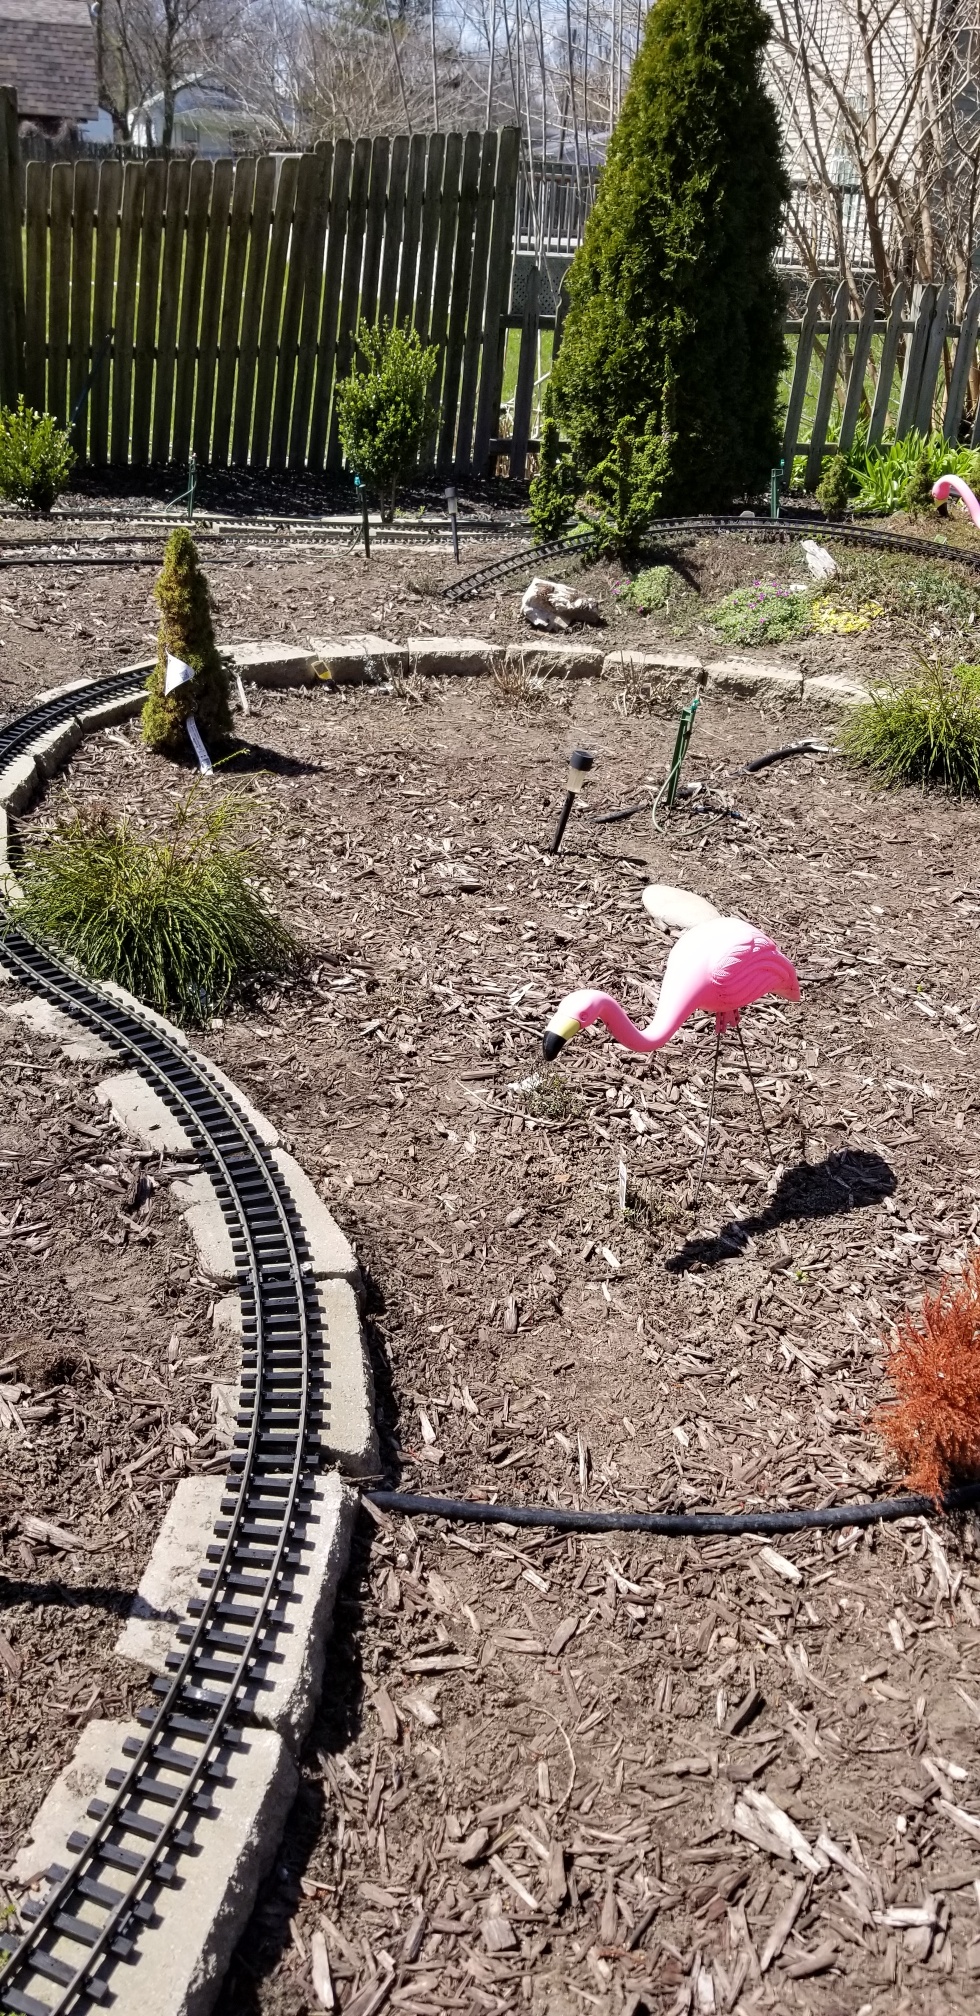
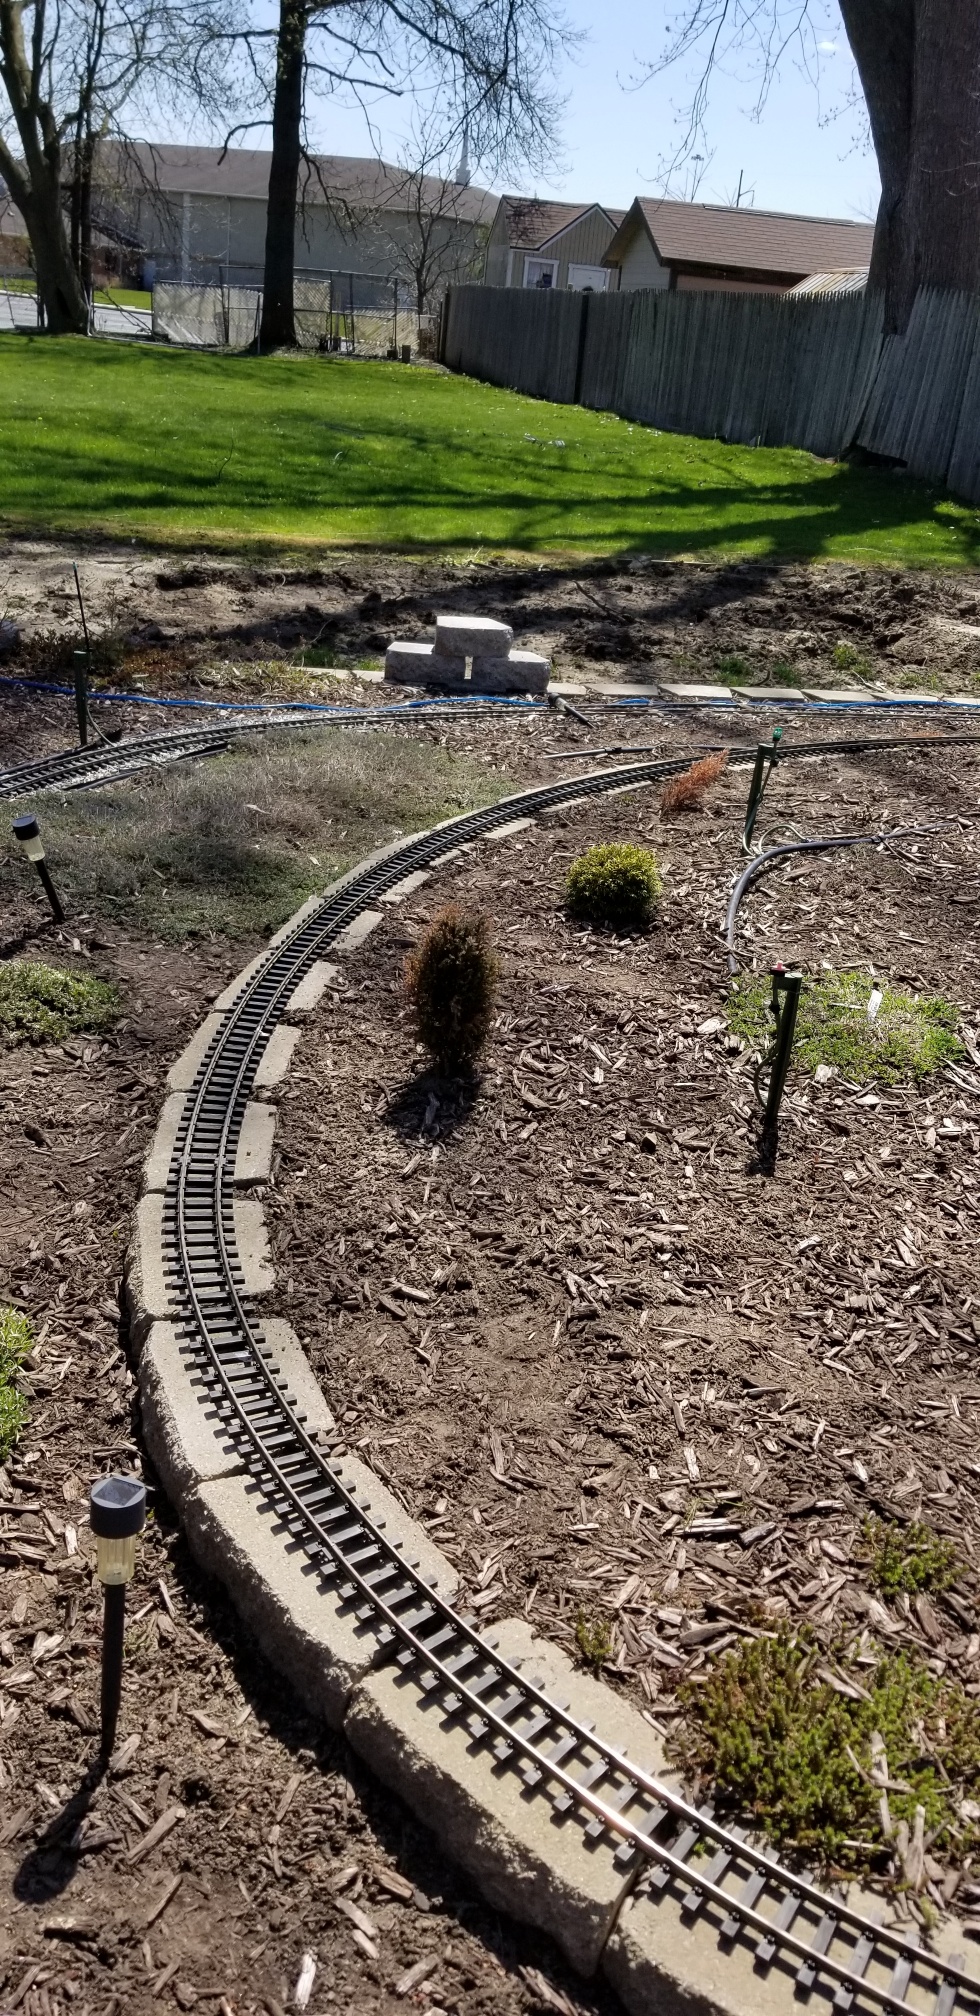
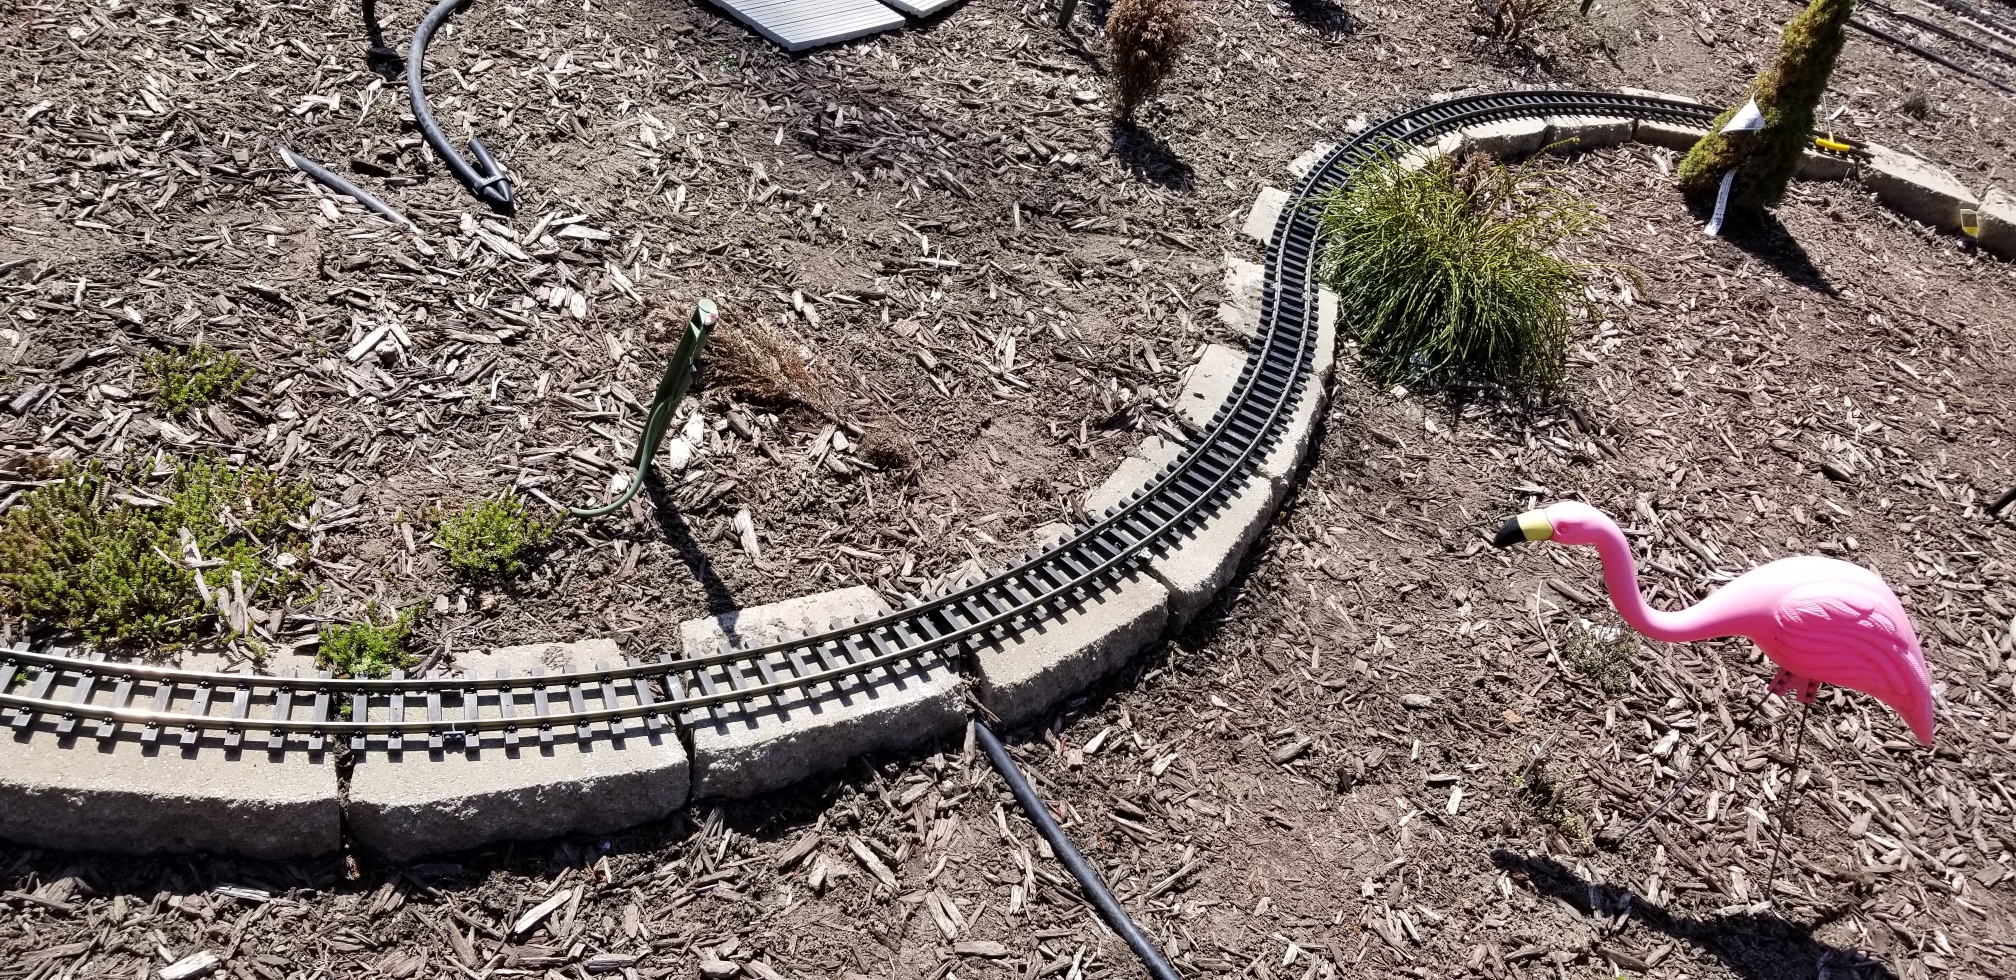
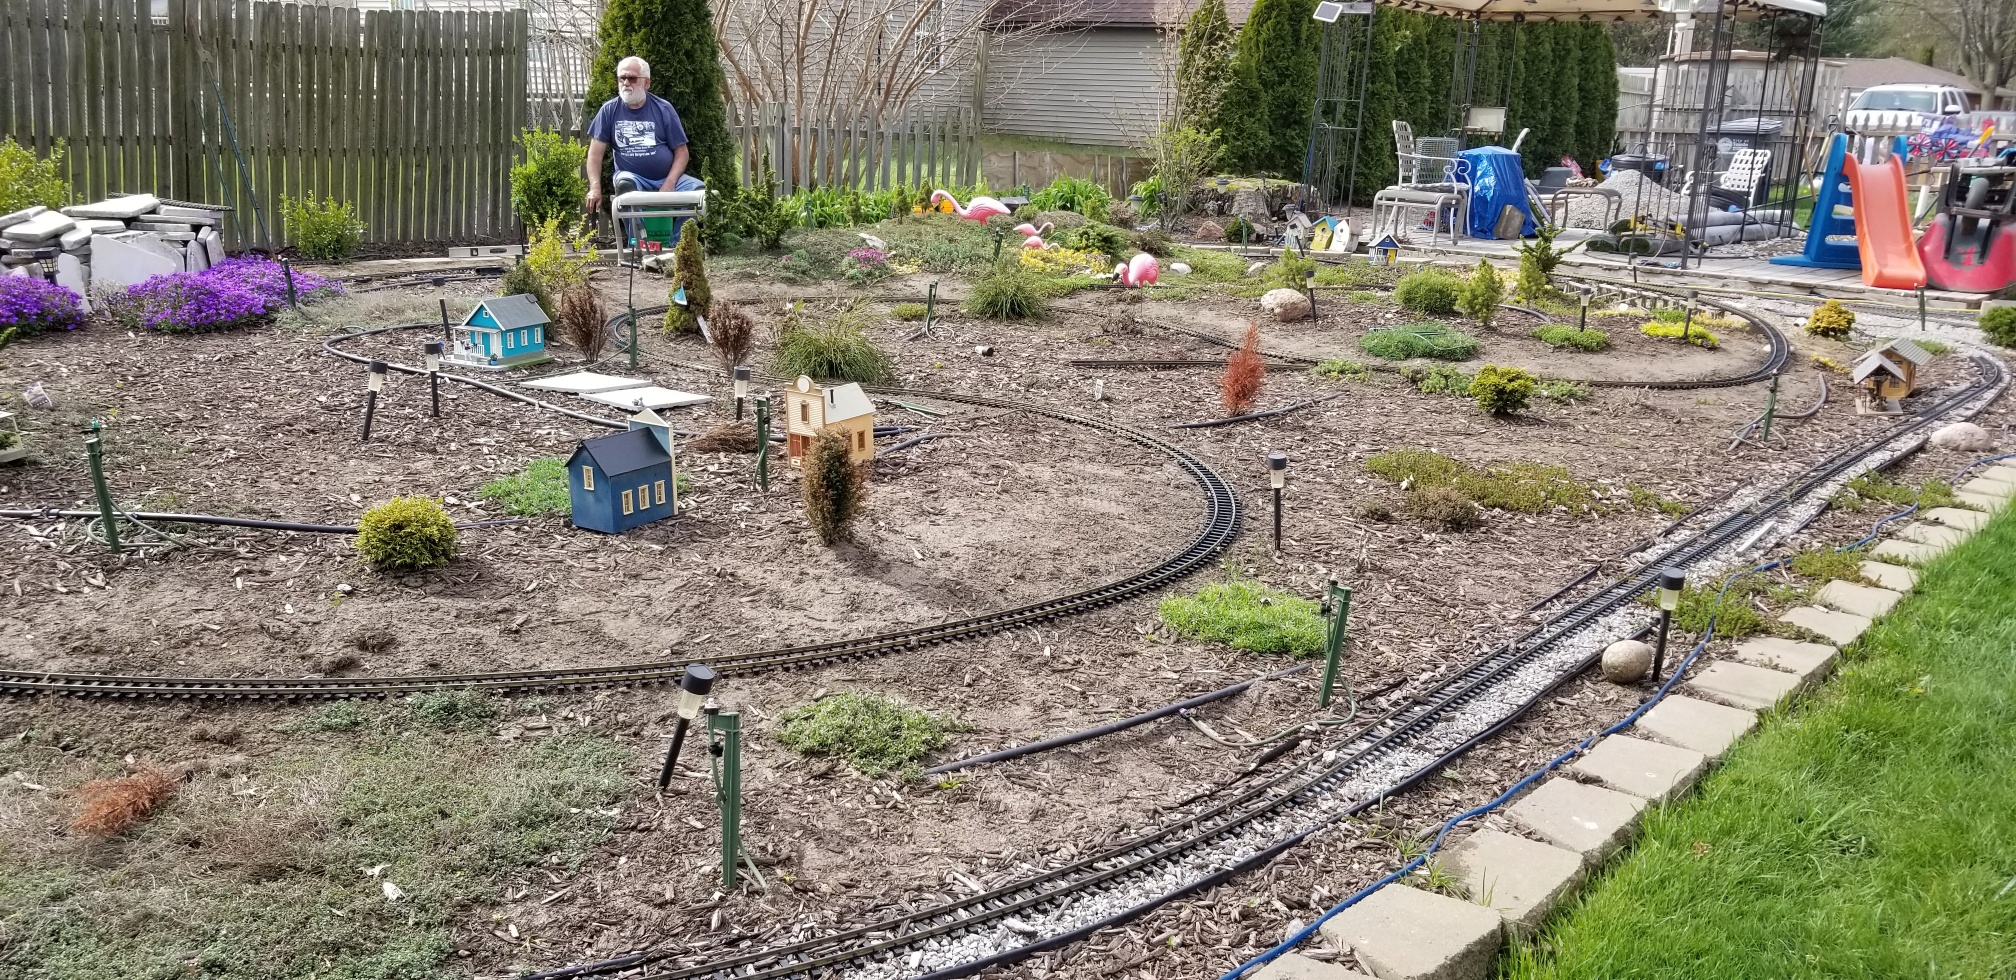
With having so many pavers to readjust as we came around the front, my thoughts were oh heck no . Lol. So I had Rick take 4 out and I raked the hill down and out to slope it. I liked what I saw, and told him to keep going. I kept raking till we had it all sloped down pretty good. By doing this it will now allow me to run spurs up into that area. Stage 4 will consist of retrenching the track to keep the moles from upheaving the track. We learned that one by trail and error this past summer. Hope Everyone had a nice Christmas and Wishing Everyone a Happy, Healthy and Safe New Year !
by Nancy Whitehill
Home-Brewed Airbrush Cleaner
I use a variety of types and brands of paint for airbrushing. I use lacquer thinner to clean up after Dullcote and acetone after spraying wth Tru-Color railroad paints. Both solvents are cheap and readily available at my local hardware store. But cleaning after acrylic painting is another matter. There are a variety of branded cleaners from Testors, Iwata, Vallejo, and others but they are in small bottles with large prices. After much research, I have a formula that has worked very well for me. I mix up a half-gallon at a time in a plastic jug and then use a condiment squeeze bottle with a snap-on top for dispensing into my airbrush. Here are the ingredients:
- 30% - Armorall window glass cleaner (auto supply stores)
- 30% - Windshield washer fluid
- 30% - Distilled water
- 10% - 91% Isopropyl alcohol
- Glycerine: 10 drops per 8 oz. of mixture
by Dave McMullian
AIRBRUSHING CLINIC SUMMARY
At the Black Swamp Division online meetings in December and January, I presented a 2-part clinic on airbrushing. The first part focused on equipment while the second was about paints, thinners, supplies, and techniques. Here is a summary of what I consider the most important points.
EQUIPMENT
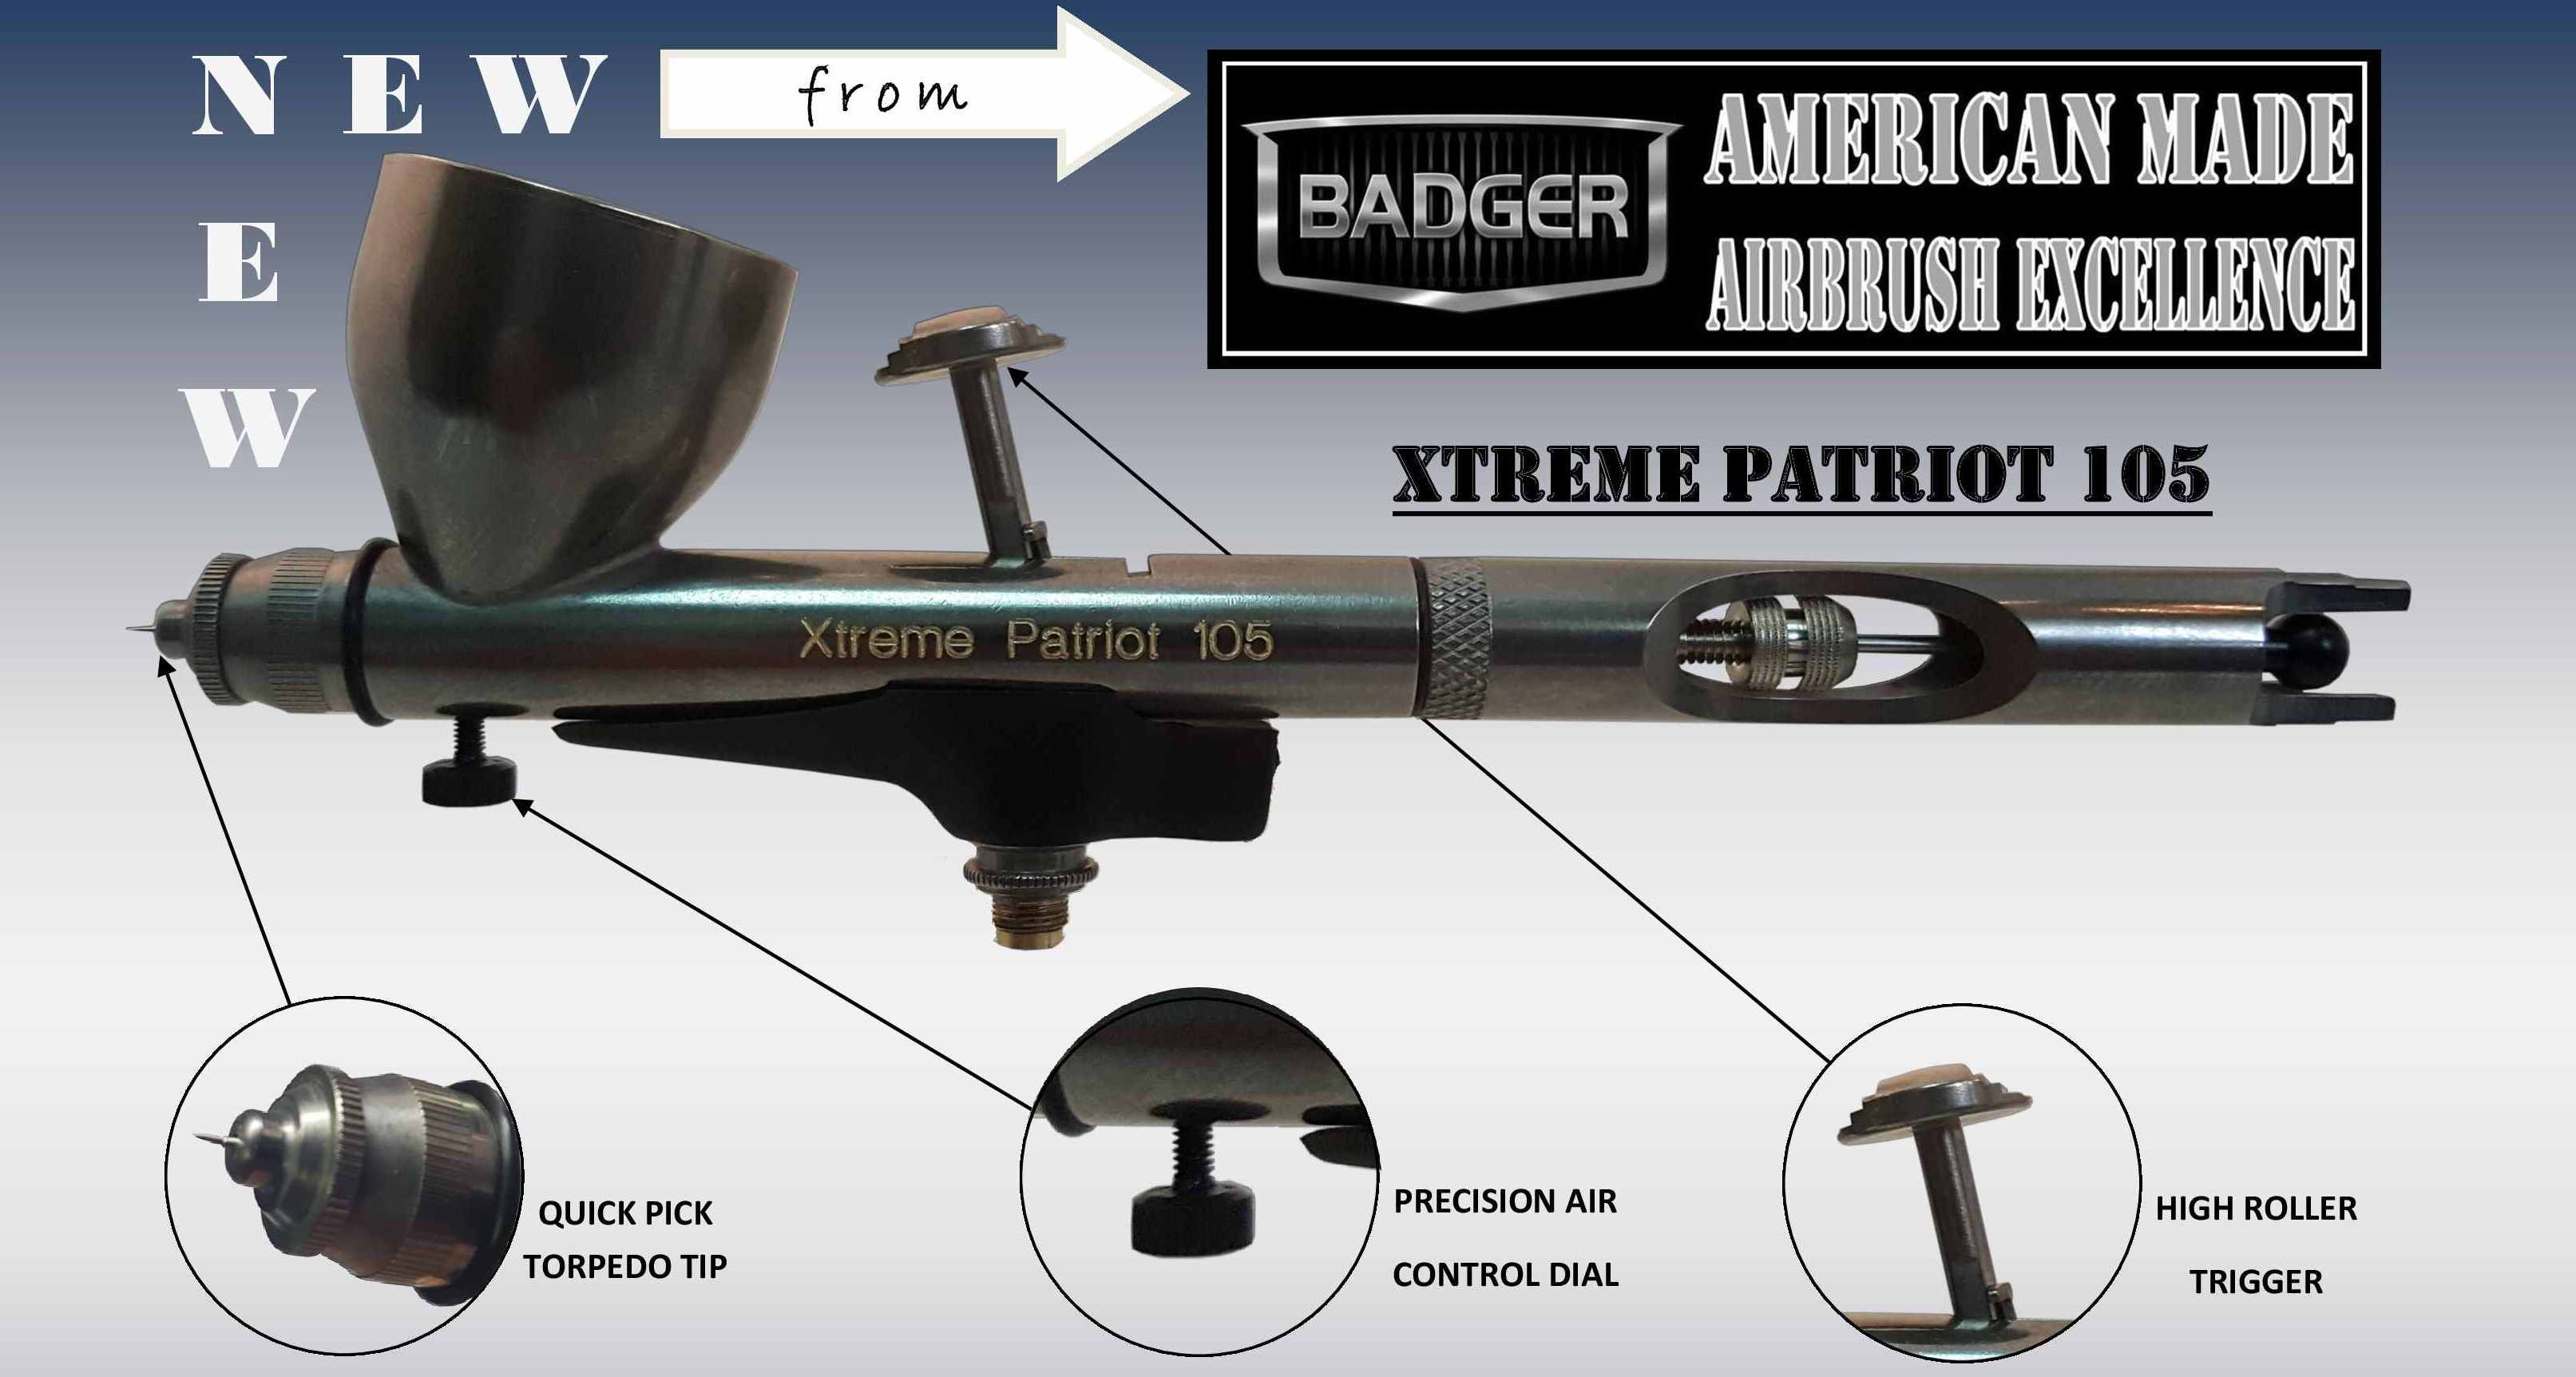
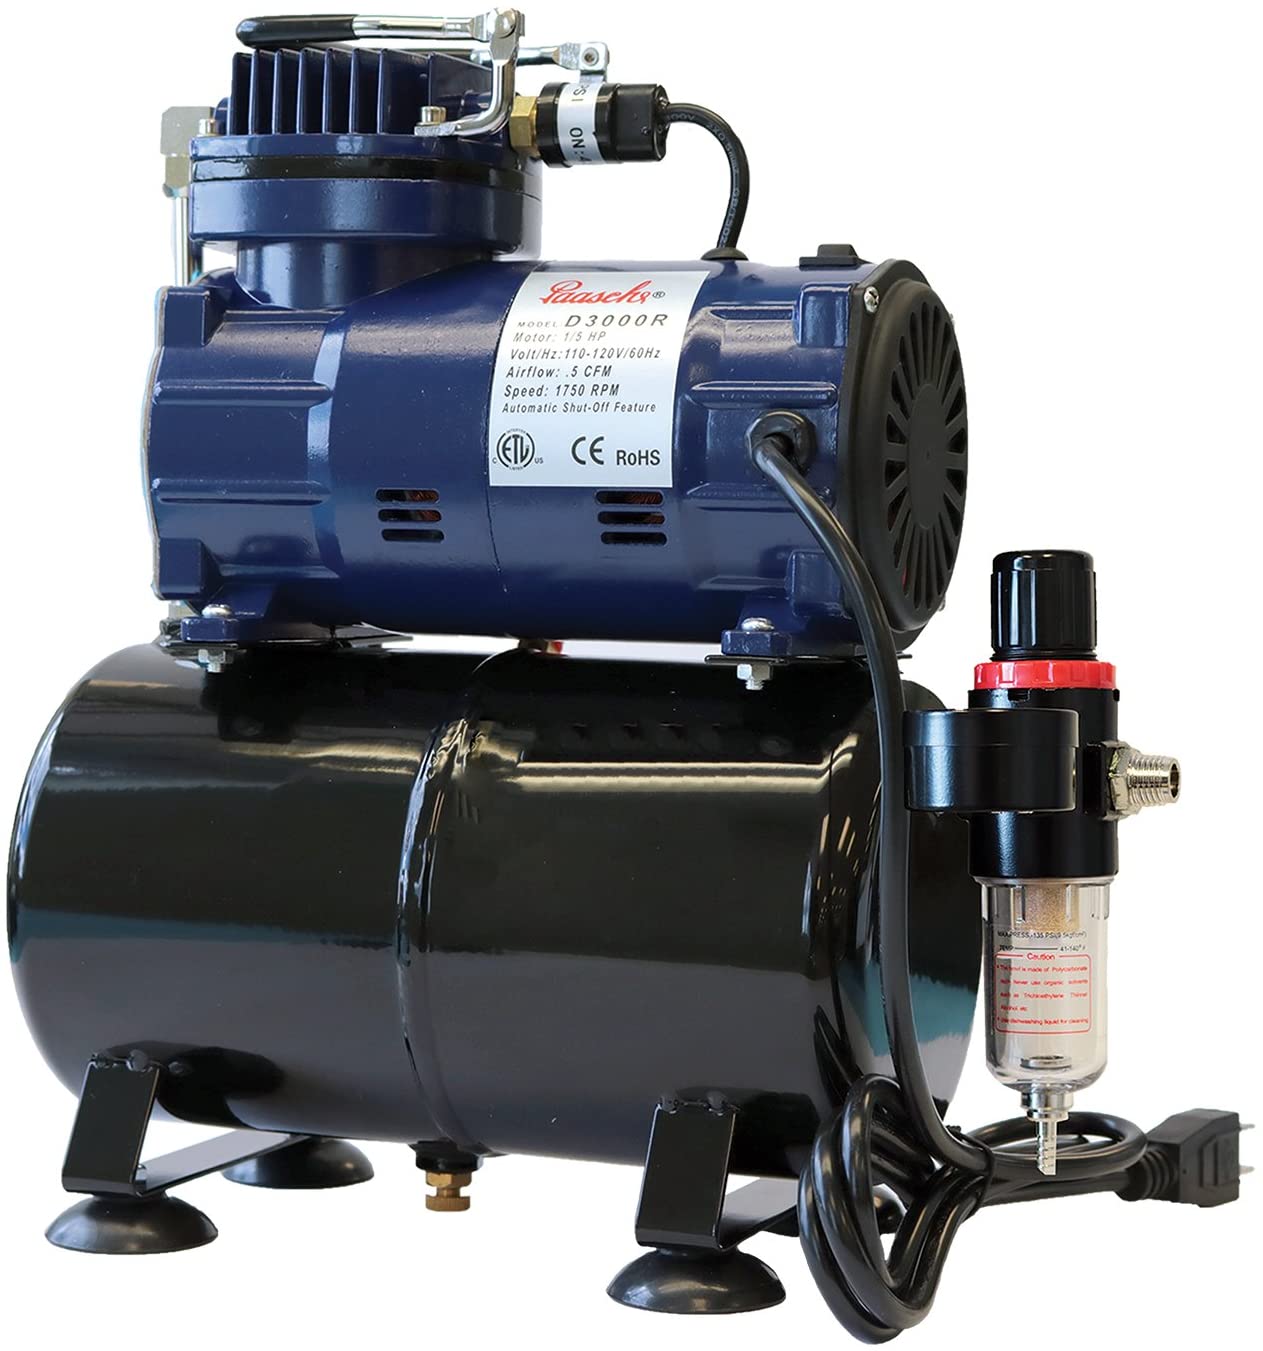
PAINTS Use what works best for you! Top priorities for me:
- Results - quality appearance, durability
- Easy of Use - applies consistently, easy clean-up
TIPS AND TECHNIQUES
- I apply 3/4" round Avery labels on paint bottle lids and then brush on a patch of the paint to provide a quick reference and comparison to other colors.
- Keep a paper towel dispenser and clean rag handy near your spray booth.
- Q-Tips, pipe cleaners, and round toothpicks come in handy for airbrush cleaning.
- For masking, use 3M blue tape marked "Sharp lines, delicate surfaces".
- Before each spray session, run a little thinner through the airbrush and make sure the trigger and needle are operating properly without sticking.
- DO NOT SHAKE PAINT. It gets full of bubbles. Use a Badger battery-powered mixer. For about 10 bucks it is a wonderful little product.
- I keep wooden clothes pins handy to hold parts.
- Use cardboard headers from paper tablets as spray boards. Apply loops of masking tape with the sticky side out, press down onto the cardboard, and stick on small parts to be painted.
- Keep a pail of fresh water near your spray booth. As soon as you are done spraying acrylics, immerse the airbrush in the water and shake it hard while cycling the trigger. This will get a lot of rough cleaning done, then finish with solvent, paper towels, Q-tips, etc.
After every spray cycle, clean your airbrush thoroughly. I only need to remove the needle assembly and "back end" of the airbrush about every 10-15 paint cycles. (Be careful: they don't call it a needle for nothing!)
This is a quick summary by a guy who is no expert but has some experience that he is glad to share. If you have questions, please feel free to contact me at train.man4756@gmail.com.
by Dave McMullian
 Train Order